Summer is almost here and with 90’s fashion becoming more popular among TikTok’s Gen Zs’ creators, tie-dye is all the rage. If you’re like us and love to scroll on TikTok for hours, you’ve probably come across a couple of tutorials on how to get the perfect tie-dye t-shirt or even sneakers! In this post we’ll take you through the different techniques to get the right result for what you’re trying to achieve.
How To Tie-Dye
We’ll show you different tie-dye techniques on this article that show you how to tie dye like a pro, but here are some tie-dye basics to help set you up for success! Whether you are wondering how to tie dye a T-shirt, how to dye socks or pretty much anything else, here are the basics to get you started.
Supply List:
Plastic Gloves
Rubber Bands
Easy-squeeze bottles with dye powder
Sealable plastic bad or wrap (for storing your t-shirt while the dye sets)
Disposable surface cover (like a large trash bag)
Wire Rack (to avoid your creating from sitting in a pool of dye)
Step 1: Pick your Item
There’s a long list of items you can tie dye, from t-shirts, socks, and sweats to bed sheets, or even shoes! We advise your select an item that is made from 100% natural fibers such as cotton, rayon, or silk. Synthetic fibers like polyester have different fibers that are not as absorbent and this can prevent the dye from dying your items completely.
It is recommended that you wash the item before starting the tie-dying process, especially if the item is new. Some dyes will require you to presoak the fabric in soda ash but with products such as Tulip’s One-Step Dyes, which already has the soda ash mixed into it.
Pro Tip: Do not use fabric softener when pre-washing your fabric. The chemicals in fabric softeners can block dye absorption.
Step 2: Prep the Dye
Some products such as Tulip’s One-Step Dye bottles already have the powder inside, but if you’re using another type of dye, now is the time to set up. Put the powder inside of your easy-squeeze bottles, then add tap water, ensure your nozzle is tightly screwed in and that the cap is on. Shape each bottle thoroughly until the dye powder has dissolved. Wait to mix your dyes until you are ready to apply them.
Pro Tip: Dye left in bottles for more than 72 hours might lose their concentration and may not appear as vibrant after dying.
Step 3: Bind the Item
Lay your damp item or t-shirt out onto a flat surface, make sure the surface has been covered with plastic. We’ll use a t-shirt and the spiral technique as an example, you will find the center of the tee which would be down the middle of the collar, and the section directly under the sleeves. That is your center point for your spiral.
Pinch the fabric in the center and twist the fabric towards the right until the entire shirt is bunched, making a perfect swirl. Use rubber bands to hold the spiraled t-shirt in place by crisscrossing them and creating 6 wedge shapes.
Step 4: Apply the Dye
Using the metal rack, place the t-shirt on to it above a covered surface to avoid making a mess. Wearing your gloves, proceed to apply the dye colors to each wedge created by the rubber bands. Turn the t-shirt and apply the same colors on the back to match the same colors as the other side.
Pro Tip: There’s no wrong way to tie-dye!
Step 5: Let Set
This is the longest step because you will need to let your creation sit for many hours. Place your project into a sealable plastic bag or plastic wrap to keep it damp and let the dye settle. Let your project sit 6 to 8 hours or overnight if you would like to give it some extra time. It’s important for the fabric stays damp while the dye sets, so make sure it’s stored in a cool area.
Step 6: Rinse and Wash
After it has been at least 6 hours and the dye has fully processed, remove the rubber bands and rinse, wash and dry. We recommend you air dry it or follow the instructions on the t-shirt tag.
7 Best Tie-Dye Techniques & Patterns
Besides this being a fun activity to do with your kids or your friends over some beers, it can also be highly technical with many steps, that if missed, can throw off your design completely.
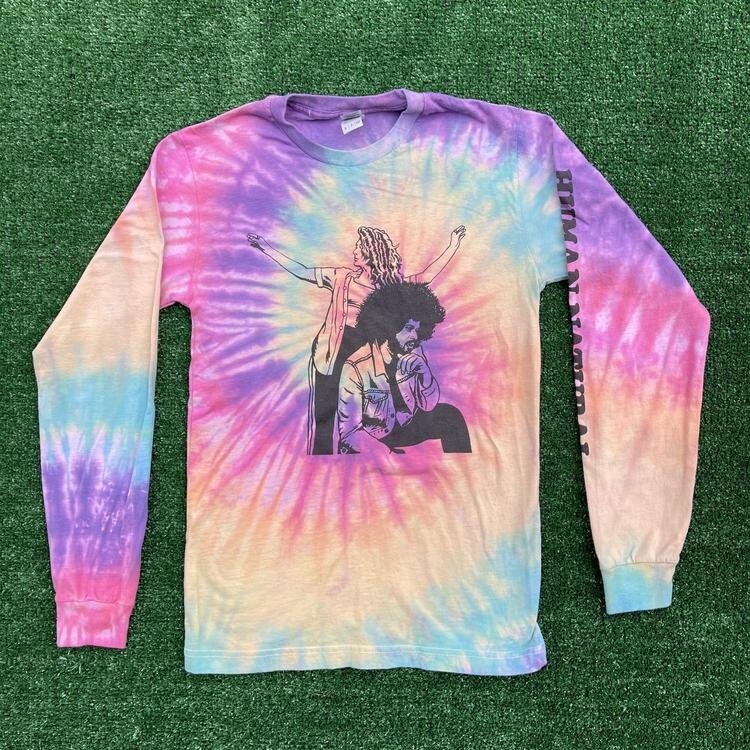
The Spiral Tie Dye Pattern
This technique is one of the most commonly used and if you’re just getting started this is a good introduction to tie-dying. This technique is simple, pinch the center of the fabric and twist to create folds and then tie with rubber bands strategically then add the dye.
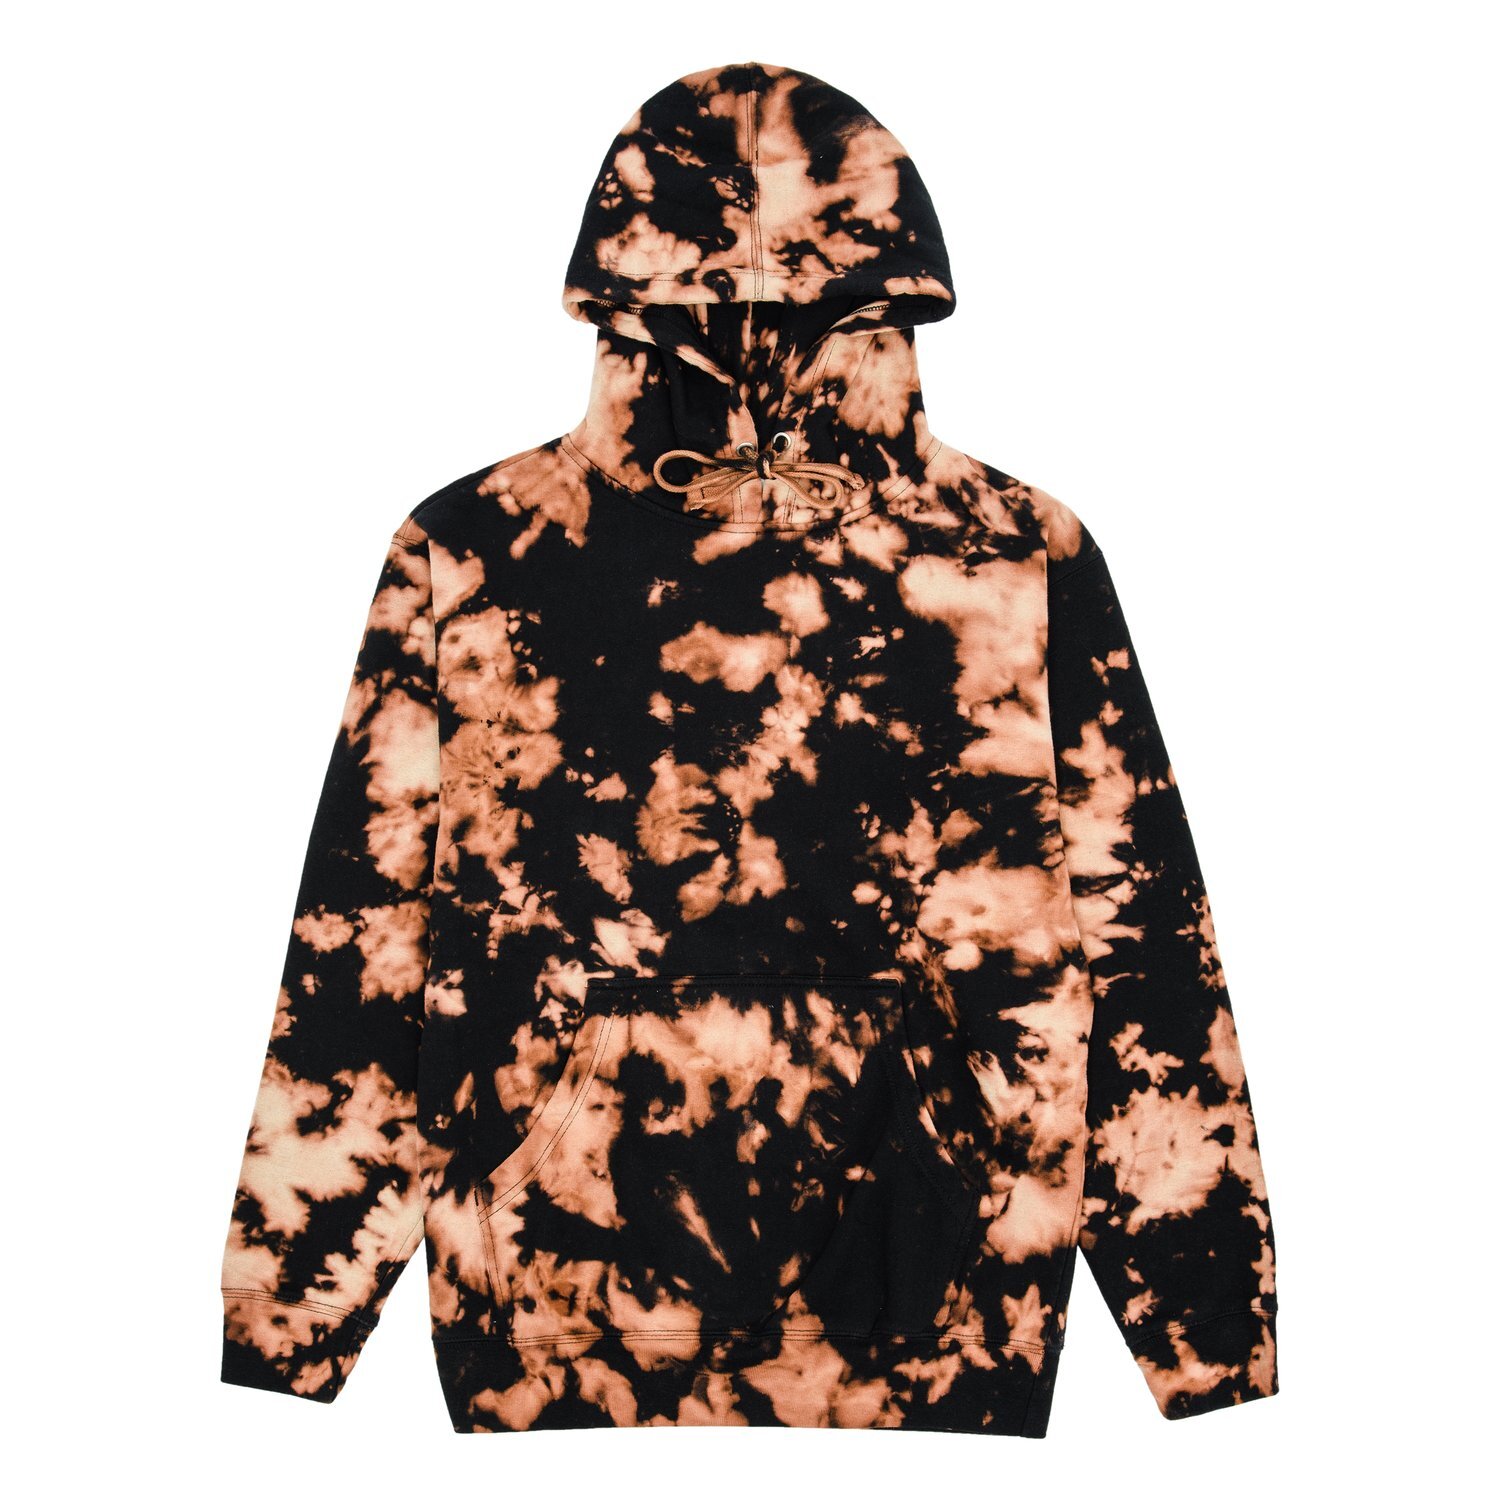
The Reverse Techniques (a.k.a Bleach Tie Dye)
This technique is called reverse or bleach because you’ll need a 100% cotton black fabric and bleach. For this technique, you’ll need to leave your shirt dry and crumple into a tight mound with the rubber bands. There’s no specific pattern to follow, this method is a little looser. Then, mix the bleach in an easy-squeeze bottle to then apply to your fabric. Rotate the fabric as needed while squeezing the bleach into it. Watch as the bleach begins to strip the color of the fabric and gradually remove the rubber bands to then immediately rinse and wash according to instructions.
Once the fabric has been washed, leave it damp and lay it flat on your workstation which should be covered with plastic to avoid making a mess. Then apply the chosen dye colors randomly over the fabric, especially in the lightened sections that were created from the bleach. Once done, put the fabric into a resealable plastic bag and leave it in a cool dry place for 6 to 8 hours. Then rinse and dry.
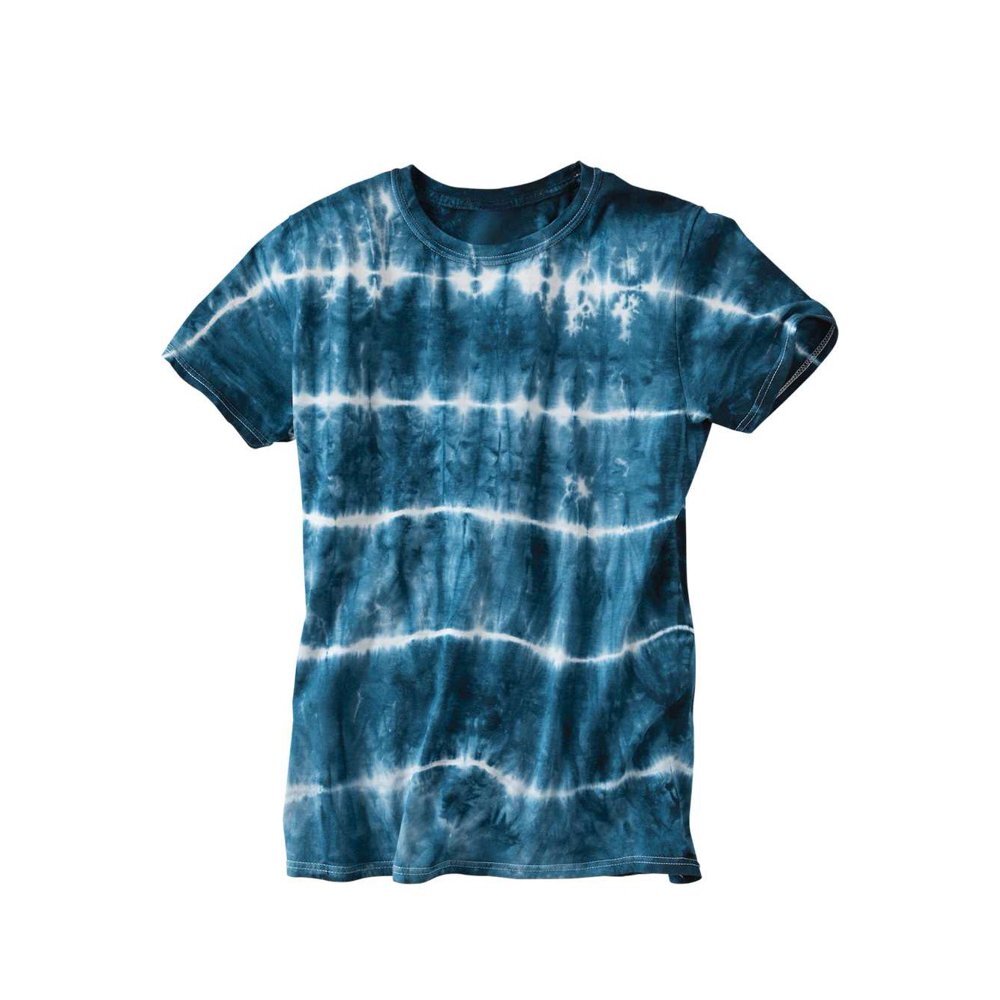
The Shibori Tie Dye Pattern
This technique is all in the way the fabric is folded. For this technique, we will use a t-shirt as an example. Accordion fold the t-shirt from the bottom edge up towards the collar of the shirt in even folds. Once folded up, starting on the end of the folded shirt, accordion fold it again towards the opposite direction until you reach the other end. Wrap the rubber bands tightly around the folded shirt in each direction, crisscrossing the rubber bands.
Place the folded t-shirt on the rack and begin to squeeze the dye into the fabric on each side. For this technique, indigo blue color dye is usually used. Place the shirt in a sealable plastic bag for 6 to 8 hours or overnight. Once the dye is fully processed, cut away the rubber bands and rinse, wash and dry according to your instruction guide.
The Ice Dye Technique
This technique requires literal ice. The pattern from this technique is very recognizable as it’s one of the most popular. The first step is to damp your fabric in soda ash or the Tulip One-Step tie-dye, then lay your damp fabric out flat on your covered work surface. For this technique, the crumple tie-dye pattern is the most commonly used and worst great, but you can experiment with other patterns you want. After using the rubber bands to bind the fabric, place it on a rack (over a bucket or a bowl is recommended to catch the dye as the ice melts). Then cover the fabric with ice, make sure all of it is covered, the more the better.
After covering the project in ice, sprinkle the dye powder randomly over the ice. The ice will melt and help the dye absorb into the fabric. Depending on where you live and the weather temperature, it could take a while for the ice to melt or not much time at all. If the ice melts quickly, you can then place your project into a sealable bag and allow the dye to set for 6 to 8 hours. If it takes about this long for the ice to melt, it’s time to skip the bag and move on to the next tie-dye step which is rinsing and drying.
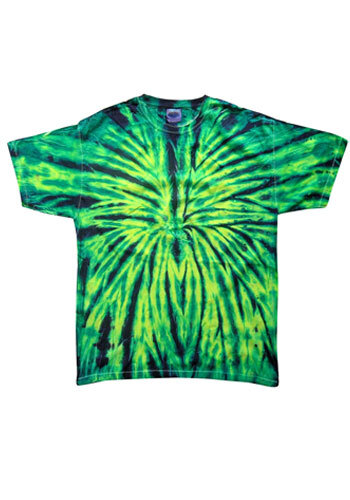
The Spider Tie Dye Pattern
For this technique, you will start with a damp fabric and then fold it in half. Pinch the fabric where you would like the center of the spiral to be, then twist until the entire fabric is spiraled. Bind the spiral with three intersecting rubber bands to create six wedge shapes. Apply a different color of dye onto each wedge shape and then carefully flip spiral over and apply the same colors on that side.
Apply black dye to one side of the spiral, completely covering the other colors. Cover with a plastic wrap to keep damp and let it sit for 6 to 8 hours. Then rinse thoroughly and wash separately.
The Kaleidoscope Technique
For this kaleidoscope pattern, you will start with a damp fabric and fold it in half, if using a t-shirt, fold it in half lengthwise and press flat on a tabletop. Pinch the fabric where you would like the center of your first spiral to be, then twist the fabric a few times to create a small spiral.
Maintain the first spiral while pinching another section of the fabric and twist several times to create a second spiral. Then crumble the remaining fabric towards the spirals. Bind the fabric with rubber bands to hold securely. Then make a paper ring to fit around the bound fabric and this will help keep the ice in place when dying.
Instead of adding water to dye bottles to mix, squeeze dye powder of a few colors on top of the ice, then let the ice melt and remove the paper ring. Flip the shirt over and repeat the process on the backside with additional dye powders. Once the backside has been dyed, cut off the rubber bands, then launder according to instructions.
The Firecracker Pattern
Scrunch damp fabric into a tube shape and wrap a rubber band around it at about a third of the way down from the top. Repeat on the bottom third. Add the dye to the top third of the fabric above the rubber bands. Then add Blue dye onto the bottom third of the fabric below the rubber band. Then wrap with plastic and let sit, then rinse and wash accordingly.
The Dip-Dye
Dip-dye (also known as tip dyeing) is a technique that involves dipping the ends of the fabric into dye. Dampen the fabric in preparation for dying then mix the dye of your choice and pour into separate plastic bins of bowls. Dip one side of the fabric into the first color, then squeeze out any excess dye back into the container. Dip the other side of the fabric into the second dye color making sure both dyes don’t touch. Lay the fabric flat on a rack and cover it in plastic wrap. Then let it sit for 6 to 8 hours. Rinse, wash, and dry.
Brand Spotlight:
LXIX Apparel
While we at Family Industries do not do this type of customization, we have done projects with tie-dye by having help from LXIX Apparel which is a tie-dye haus located in Los Angeles and run by Brian Robert Jones, who is the guitarist for the band Vampire Weekend.
LXIX Apparel focuses on creating vibrant tie-dyed apparel from hoodies, and t-shirt, to full sweatsuits. LXIX has helped us with projects for Urban Farms LA and we have printed for their own brand as well.
Author: Irene Floridia - Content Creator
Follow us on Instagram and Facebook!
For FAQ, check out our site!
For any inquiries, send us a message!
OR
send us an e-mail at quotes@familyindustriesla.com
Our showroom at 2755 Fruitdale Street, Los Angeles, CA 90039 is open by appointment only from 10 am - 4 pm Monday through Friday.

