Designing artwork for a t-shirt or a hat may seem like a simple task, but when it comes to the technical application of the design; things may get complicated. The road to starting your own streetwear brand does not have to be bumpy! we encourage you to inform yourself before investing time and money, and we will help you by taking you through the different steps to consider when creating and designing your own apparel brand.
In this article, we will walk you through efficient and economical ways to begin a streetwear clothing line as well as the technical part of apparel printing to help you avoid having to re-design your logo or any other artwork you would like to print on t-shirts, hats, or pants.
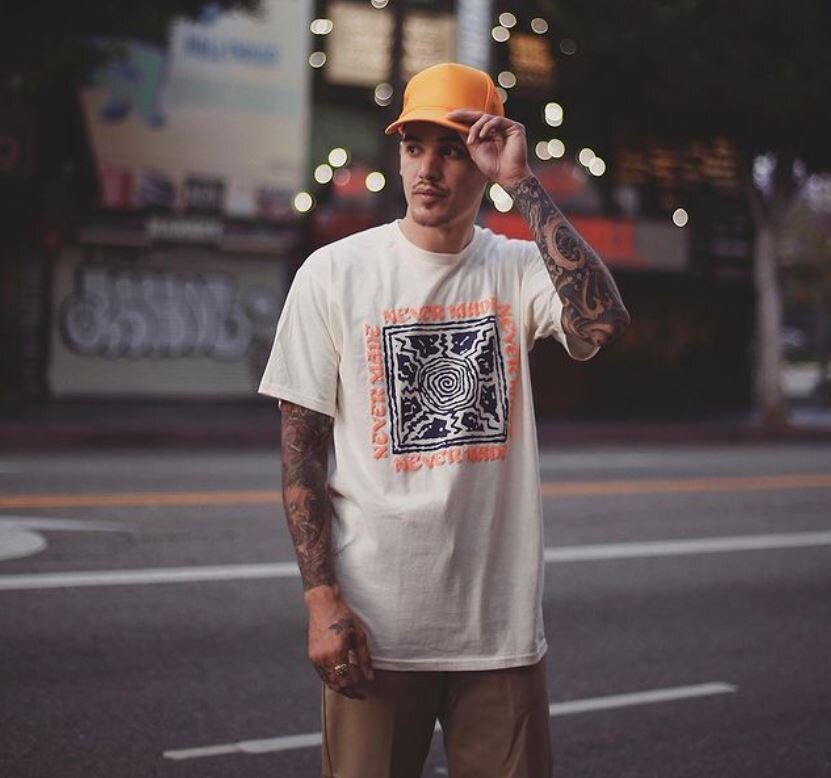
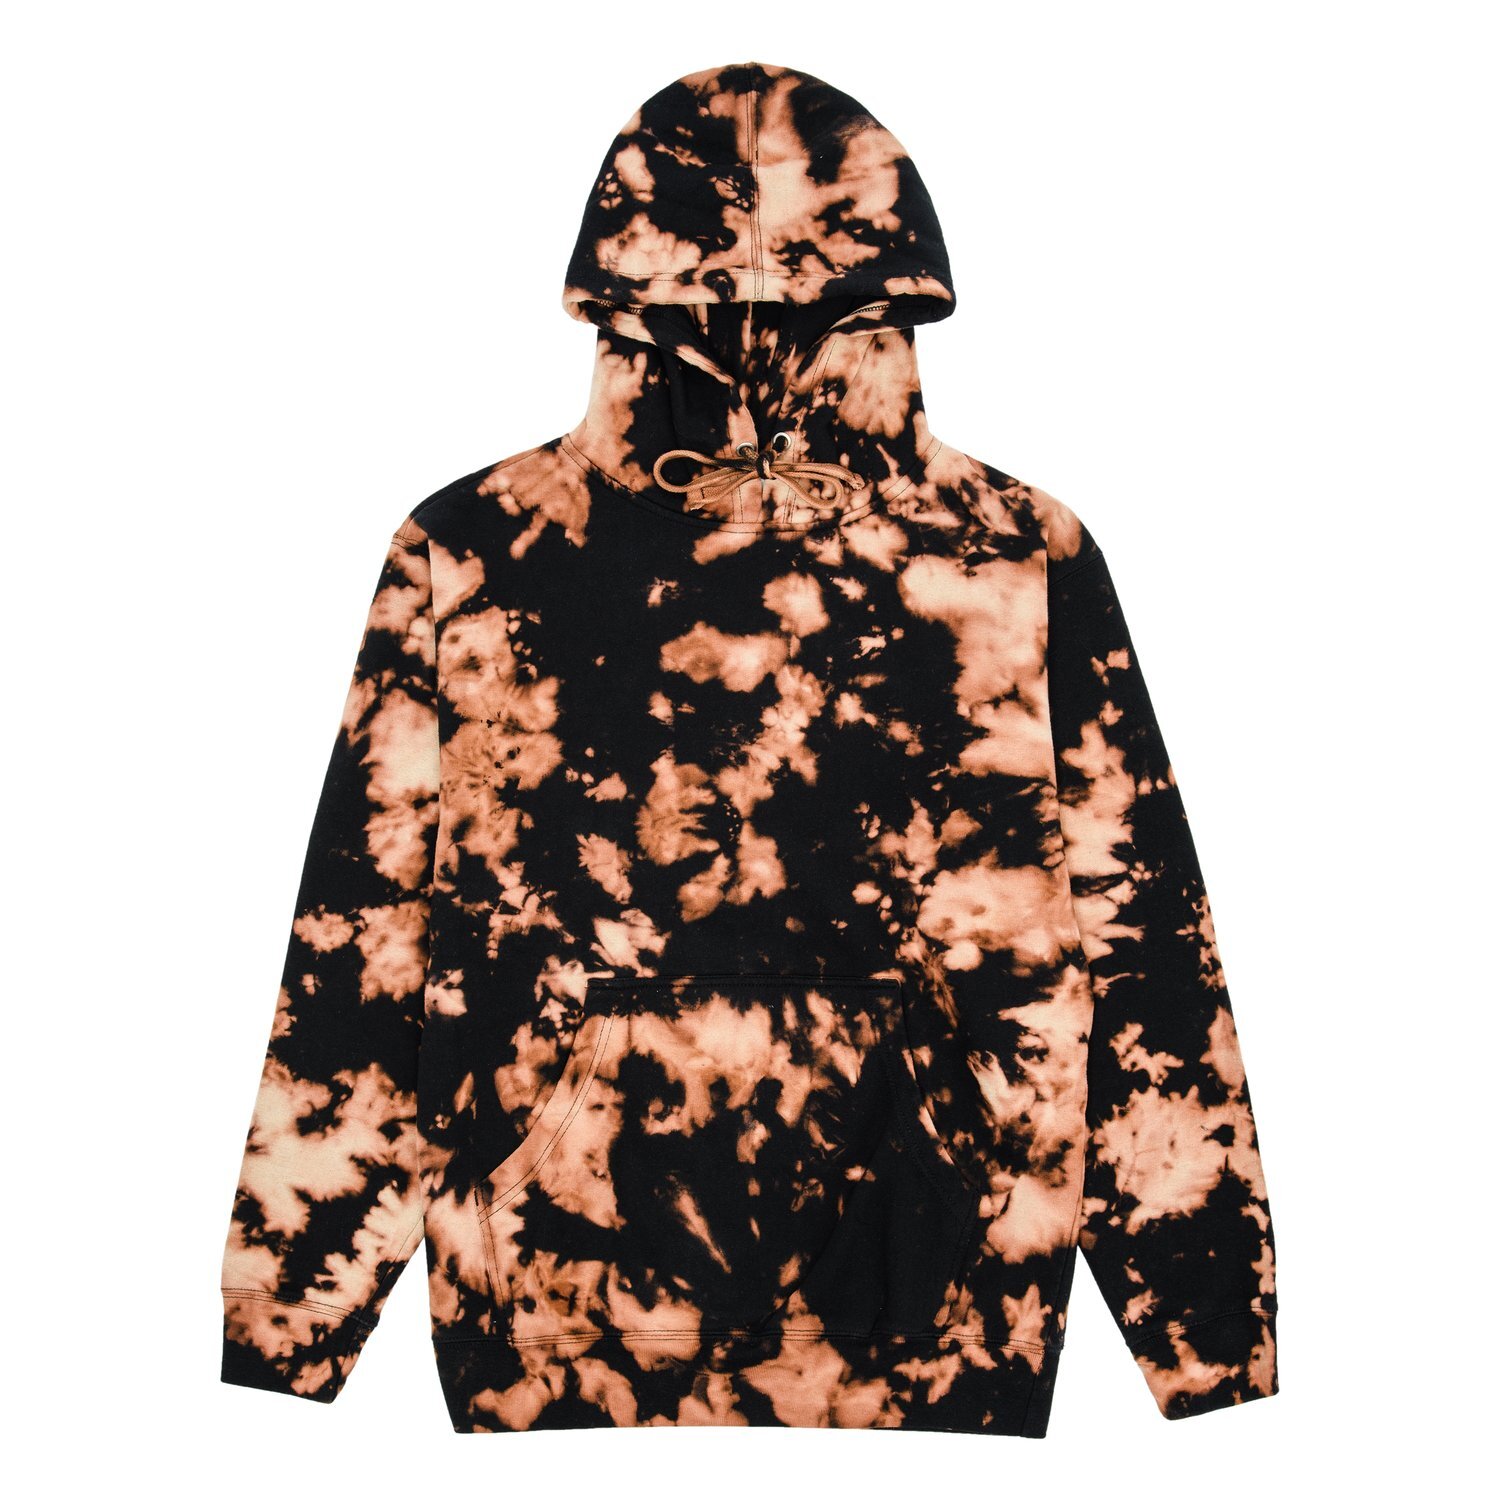
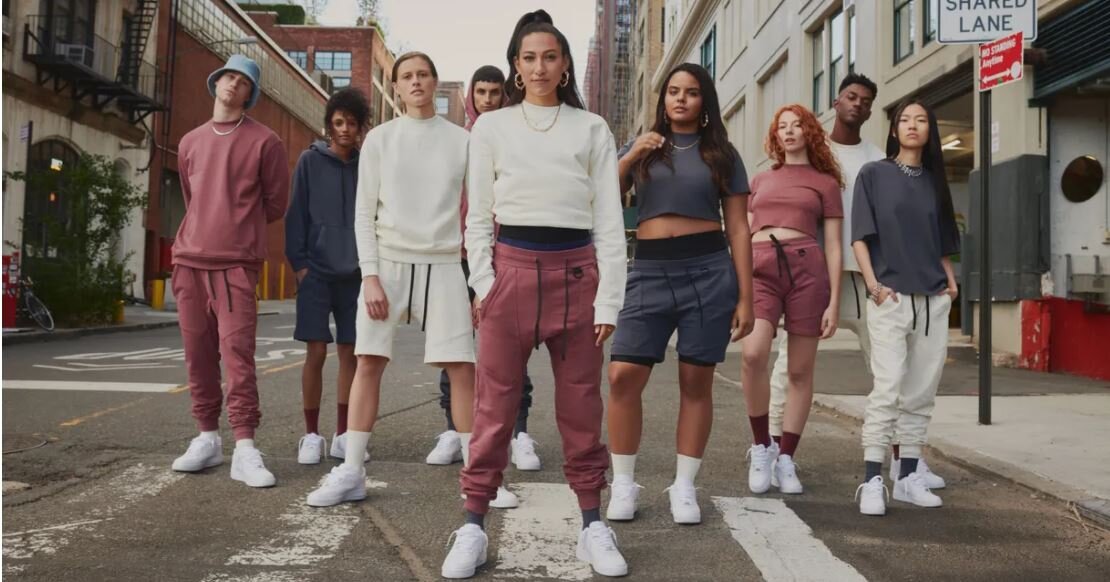
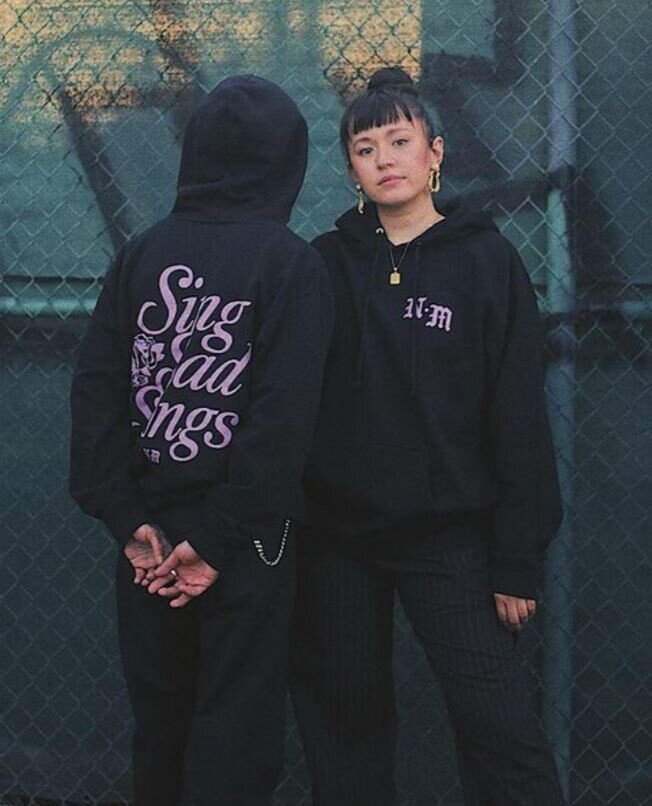
Photo and T-Shirt Design By NEVER MADE
What Is Streetwear?
Streetwear is a casual fashion style that became popular in the 1990s. It includes comfortable yet trendy clothing such as graphic tees, hoodies, sweatpants, and sneakers. Streetwear brands are inspired by both hip-hop culture and skater style. Followers of the latest trends in streetwear are known as hypebeasts, and many go to great lengths to acquire limited-edition designer hats, hoodies, sneakers, and more.
The first streetwear brands emerged in Southern California in the 1980s, when surfers sold screen printed T-shirts to promote their hand-shaped surfboards. Inspired by the street style of LA skateboarders and surfers as well as hip-hop fashion, small skateboarding shops in NYC started creating their own designs in the 1990s.
In the 2000s, sneaker culture influenced streetwear fashion. Hypebeasts paired their graphic tees with athletic sneakers, and collaborations flourished.
In the 2010s, luxury streetwear was born. As young people and social influencers made streetwear an important part of pop culture, and the fashion industry noticed, from mainstream sportswear brands to high fashion brands, got in on the action.
The Basics


Comfort
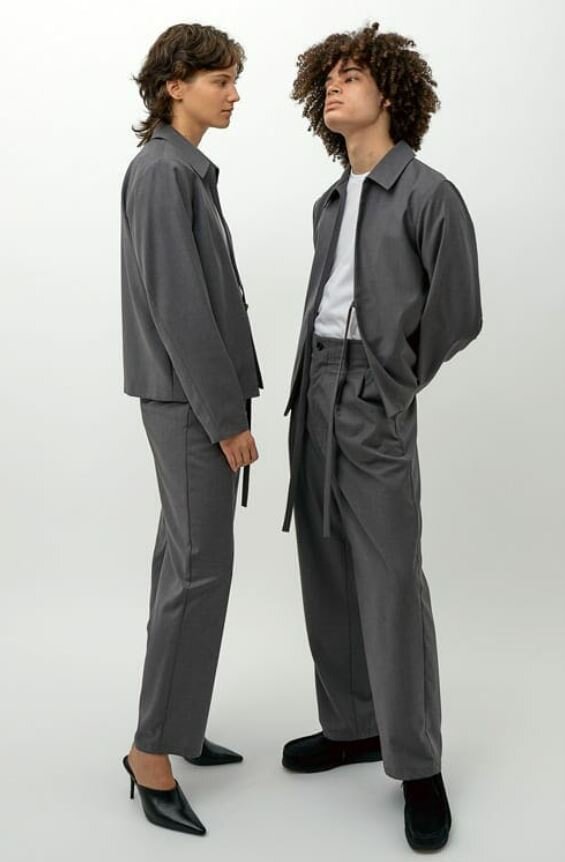
As mentioned, streetwear takes inspiration from the hip-hop culture as well as the skater style. When figuring out the fit of your apparel, you will first want to think about whether you’re looking to design loose and comfortable pieces or have more of a tapered look.
Streetwear is generally defined by breaking the rules of proportion by using oversize t-shirts with skinny jeans or dropped-crotch sweatpants, but as the style evolves, it is encouraged to just make cool and interesting apparel regardless of fit.
Ripped pants and distressed jeans are also part of the streetwear style, these details are important to the overall look. Considering what type of fit and style gives you brand identity and consolidates your audience to a specific group, which in turn, will help you narrow down your marketing efforts in the future.

Fabrics & Design
Because t-shirts are one in a million, and cool graphics are being designed and printed daily; good high-quality fabrics will set you apart from the competition and give your brand an edge. If this is something you can afford, we highly recommend going with higher quality cotton.
Cotton fabrics are premium options and ideal for long-lasting apparel. Additionally, the thicker the fabric, the better the graphics will be. The thicker fabric allows for a cleaner and nicer print, whether you’re screen printing the design or opting for a DTG print (direct to garment), a nice cotton blend is what you will need.
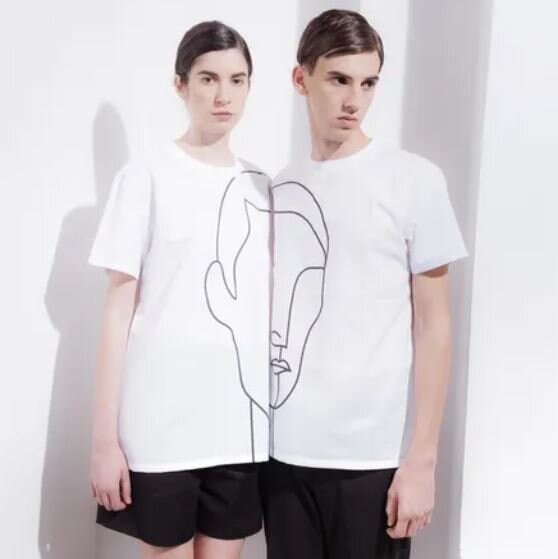
The design will depend on what your brand is about. Considering the name and the inspiration behind your brand as well as finding a compelling way to translate your passion for the brand into a cool graphic is key, and that same sentiment should show throughout each article of clothing and each collection thereafter.
We recommend that you stick to one logo and that logo be visible enough on all articles of clothing offered by your brand. The graphic design should be easy to read and recognizable. When designing the graphics, seek inspiration from your life, your surroundings, or the culture within your community. Having a design that directly connects to a certain lifestyle is what makes a streetwear brand successful.

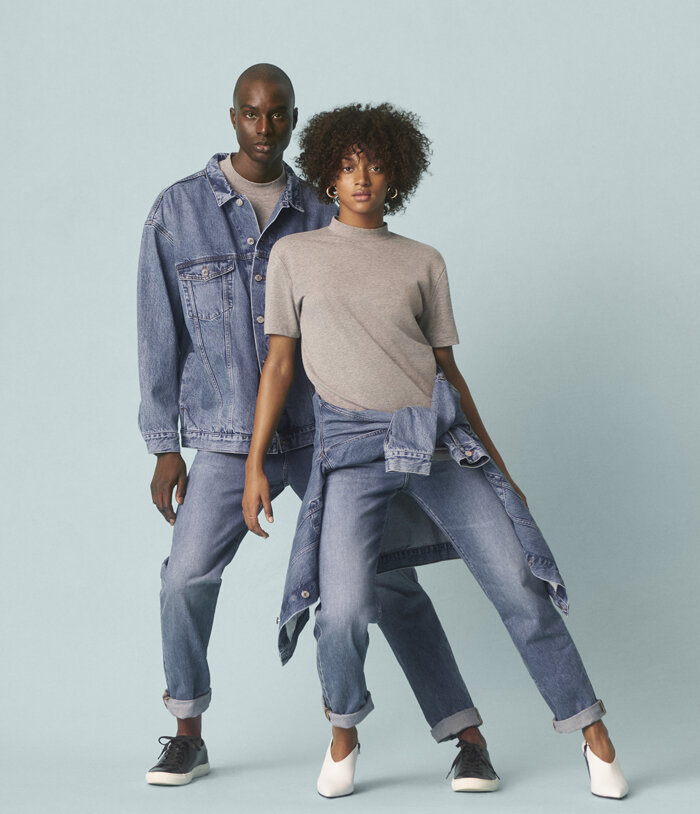
Versatility
When creating your own apparel brand, especially in the streetwear category, you want each piece to be versatile. Versatility means that you can wear that article of clothing with many other pieces to allow the buyer to create their own unique look and keep their originality.
You can achieve versatility by including basic colors such as white, black, or grey. Minimal designs such as your logo embroidered small on the chest or your logo screen printed on the back of a t-shirt.
The Details
Accessories are essential to completing a look. There are simple accessories you can offer, such as hats, beanies, and bandanas to complete a unique outfit.
Screen printing a hat or a bandana is fairly easy and affordable, and are a good way to add accessories to your clothing line. Additionally, embroidering a logo on a hat or a cross-body bag is a good alternative that provides an added touch of customization and quality.
Focusing on the smaller details can make all of the difference in setting your brand apart from others, such as printing on unconventional spots like the sleeves or adding an embroidered element to the design.


Screen Print or Direct To Garment?
There are many differences and similarities between these two methods of printing, and there are a number of criteria to be taken into consideration when making your decision. The following points will help you decide on which print method is better for your brand and more specifically what type of print method is best for your designs such as logo and other artwork you wish to display on the apparel.
Quantity: Digital printing allows for a smaller quantity to be printed while screen printing will usually require a minimum.
Apparel: Screen printing has more versatility when choosing your fabric. For digital printing, it is advised to print on 100% cotton or other select cotton blends and only certain colors.
Design: Photographs or hyper-detailed images with a lot of colors are usually better printed digitally. However, if you have a large number of shirts you would like to print, screen printing may still be an option but it may cost you a little bit more or may require some adapting to make the design work best.
If cost is your main concern, the following criteria will dictate the best print method:
Apparel: The type of apparel can range from value to premium options and depends on the style and brand.
Print Locations: There is the option for 1 or 2 locations, which would be the front and/or the back (for a t-shirt or sweatshirt).
Fabric Color: For screen printing on darker color fabrics, a white layer before your print is necessary and may cost a little bit more.
Number of Colors: The more colors your print requires the higher the cost is for screen printing, however, if you have a large quantity, this cost may be a lot lower as you can have access to deeper discounts.
Quantity: With screen printing, the number of pieces will dictate the majority of your cost. This is the most important factor that will most likely dictate the right method for you.
Streetwear Brand Spotlight:
Never Made is a Los Angeles based streetwear / lifestyle brand created by artist Francisco Reyes, Jr.


Remember!
When people look at you as a “high-quality” streetwear brand, you’ll not only be able to charge more money, but you’ll be much more reputable in the process. Reputation can take you a long way in the fashion industry, especially when it comes to something as urban as streetwear.
Author: Irene Floridia - Content Creator
Follow us on Instagram and Facebook!
For FAQ, check out our site!
For any inquiries, send us a message!
OR
send us an e-mail at quotes@familyindustriesla.com
Our showroom at 2755 Fruitdale Street, Los Angeles, CA 90039 is open by appointment only from 10 am - 4 pm Monday through Friday.