Starting an apparel brand may seem easy but there are a lot of legal and practical logistics to take into consideration if you’re looking to do things the right way. In this blog, we’ll take you through the basics of how to launch a legit apparel business with insight into the details that most people miss when they are just starting out. Additionally, we’ll give you examples of what not to do.

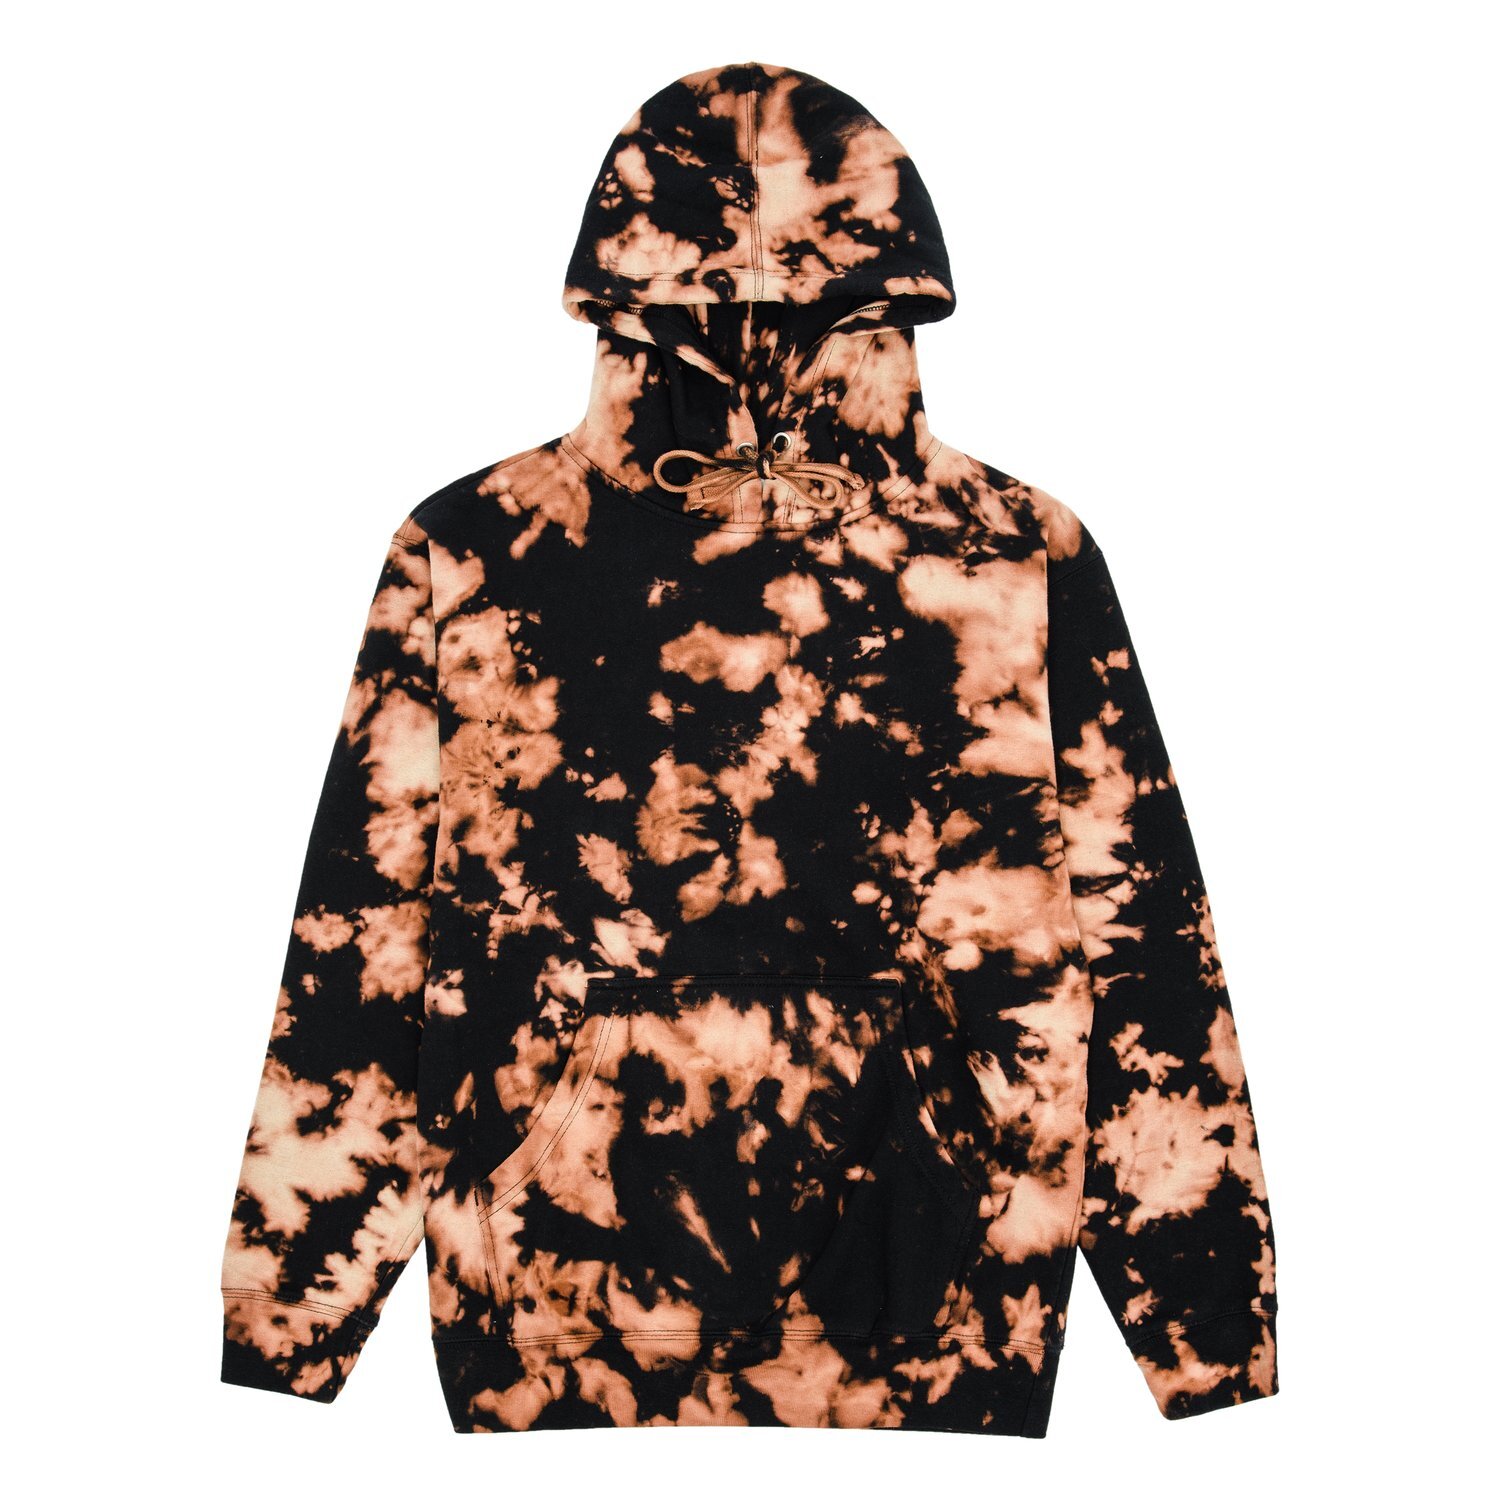
Image and Clothing by Never Made
Artwork & Designs
Oftentimes people have great ideas for what graphics they want on their clothing but don’t have the proper copyrights to use those images. It’s imperative that any design created for your brand is owned by you and that it is not in the likeness of any other popular brand.
Copyright is a form of legal protection provided to those who create original works. the copyright owner has the exclusive right to reproduce, adapt, distribute, publicly perform and publicly display the work.
Any or all of these rights can be licensed, sold, or donated to another party.
When planning your aesthetic and working with a graphic designer, it is advised that you draft a contract to ensure you have the rights to the graphics and this way, protect yourself from any legal issues that may arise in the future.
Check out - How To Copyright a graphic design
Many make the mistake of changing the colors on artwork and think they can get away with it but it’s not recommended if you’re looking to have a legitimate apparel brand.
Make sure you also trademark your brand name. Here is how!

2. Fonts
Fonts come in all shapes and sizes, if your design requires a cool font that fits the vibe of your apparel line, it is important that purchase licensing for them. We advise you to select 2 or 3 fonts to use throughout your items and so that you have a variety to chose from.
To learn more about licensing check out The Law on Fonts and Typefaces in Design and Marketing: Frequently Asked Questions (about commercial and non-commercial use)

3. Details

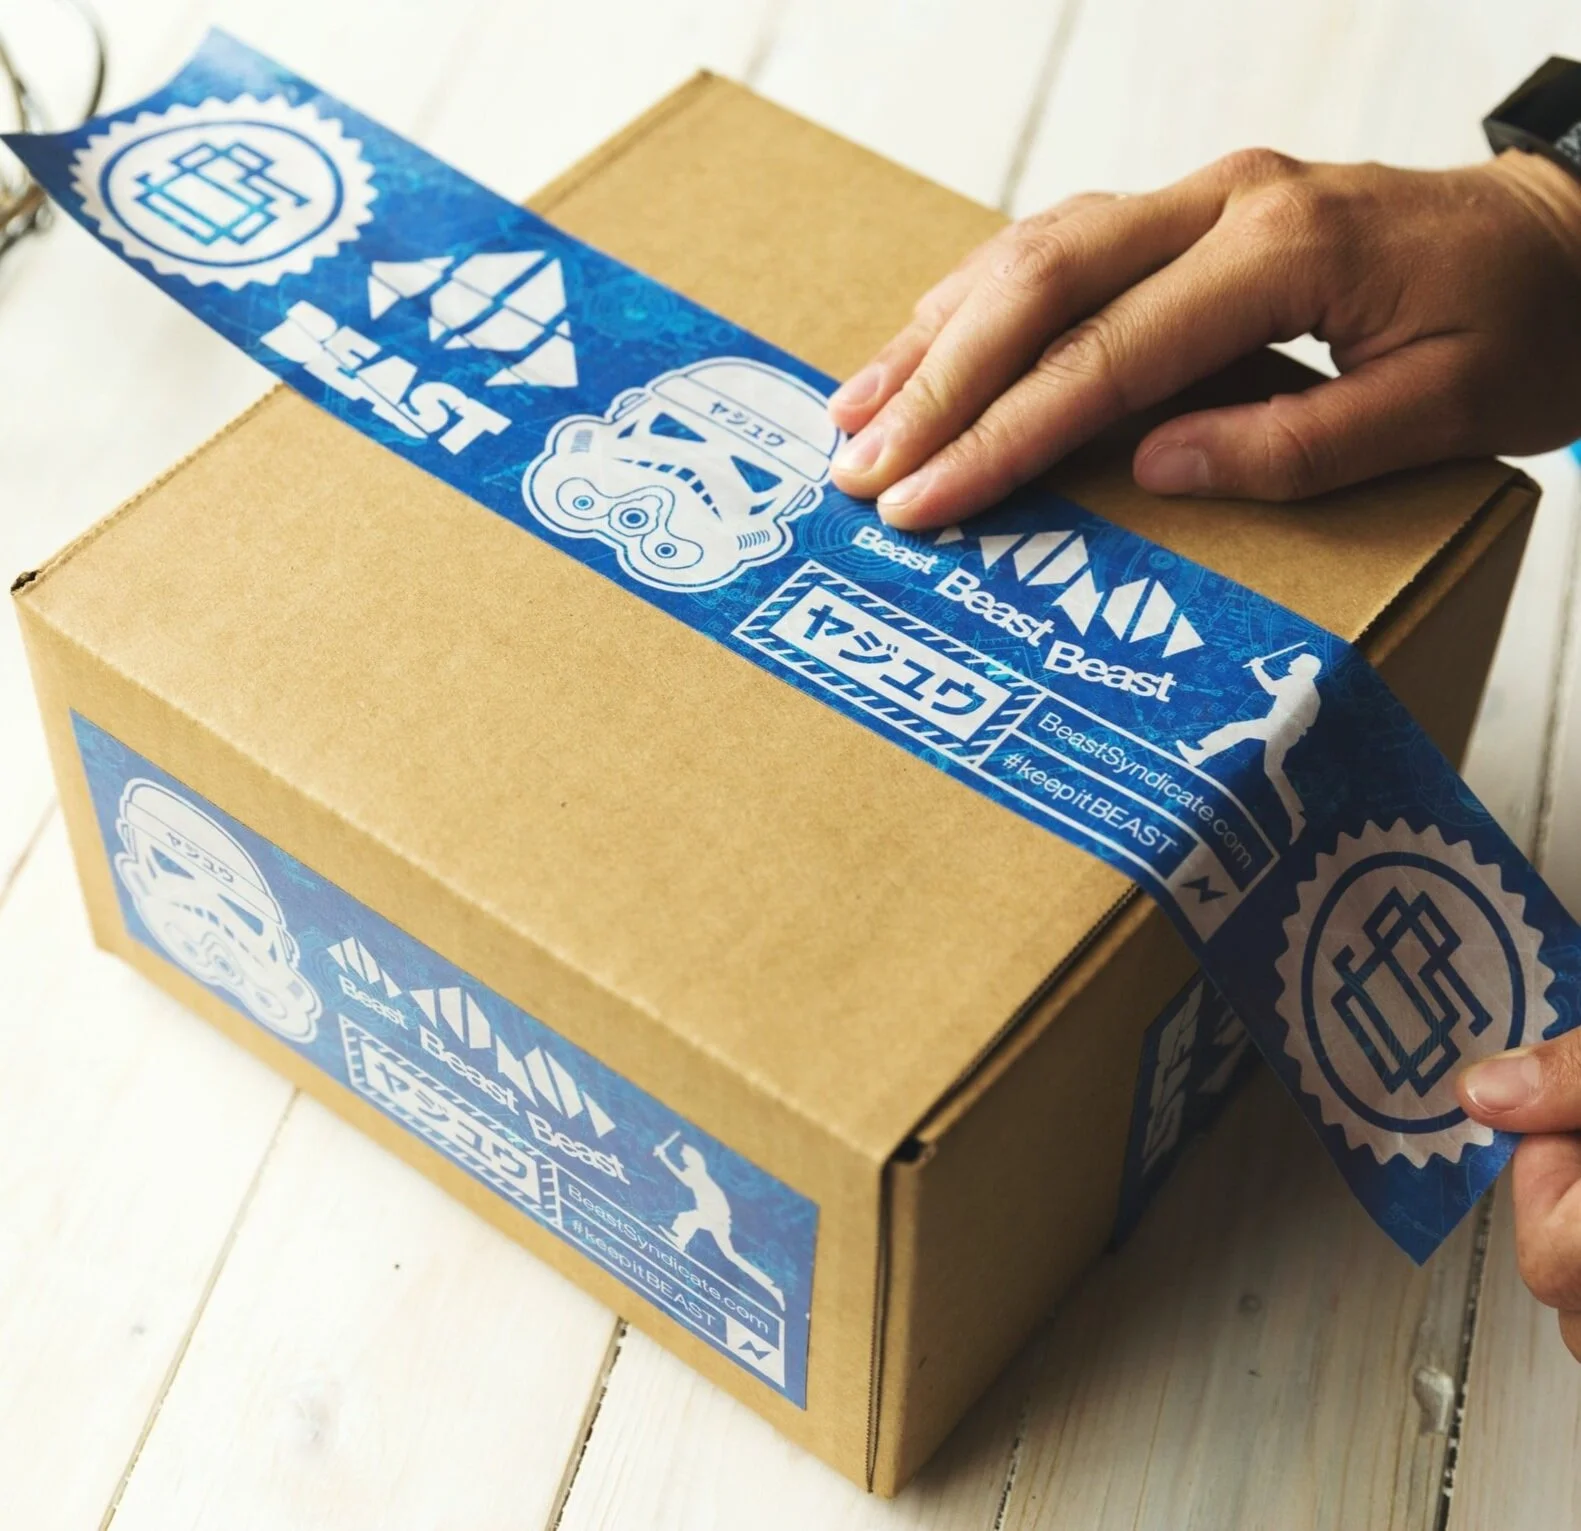
Clothing tags are not only an opportunity to print your logo on but they’re required when selling apparel. Many new brands make the mistake of buying t-shirts in bulk that have a generic tag of the manufacturer and don’t bother to add their logo.
However, we’ve found that having your company information printed on the inside of the neck increases brand recognition and adds to the overall value of your brand.
Regulations compliance is another reason why you should have neck tags. These regulations required the fabric content, country of origin, and RN number.
Check out - Brand and Clothing Labels: The Definitive Guide

4. Website
Have your website ready to go before you begin promoting your product.
Take the time to build a website with a checkout cart that is linked to your email or a processing system to avoid all the manual work that comes with fulfillment.
A common mistake a lot of new brands make is launching their brand on Instagram or other social media platforms such as Facebook and this could cause issues with fulfillment, as it is important to have a centralized system to manage order information.
Do I need a small business website in 2021?
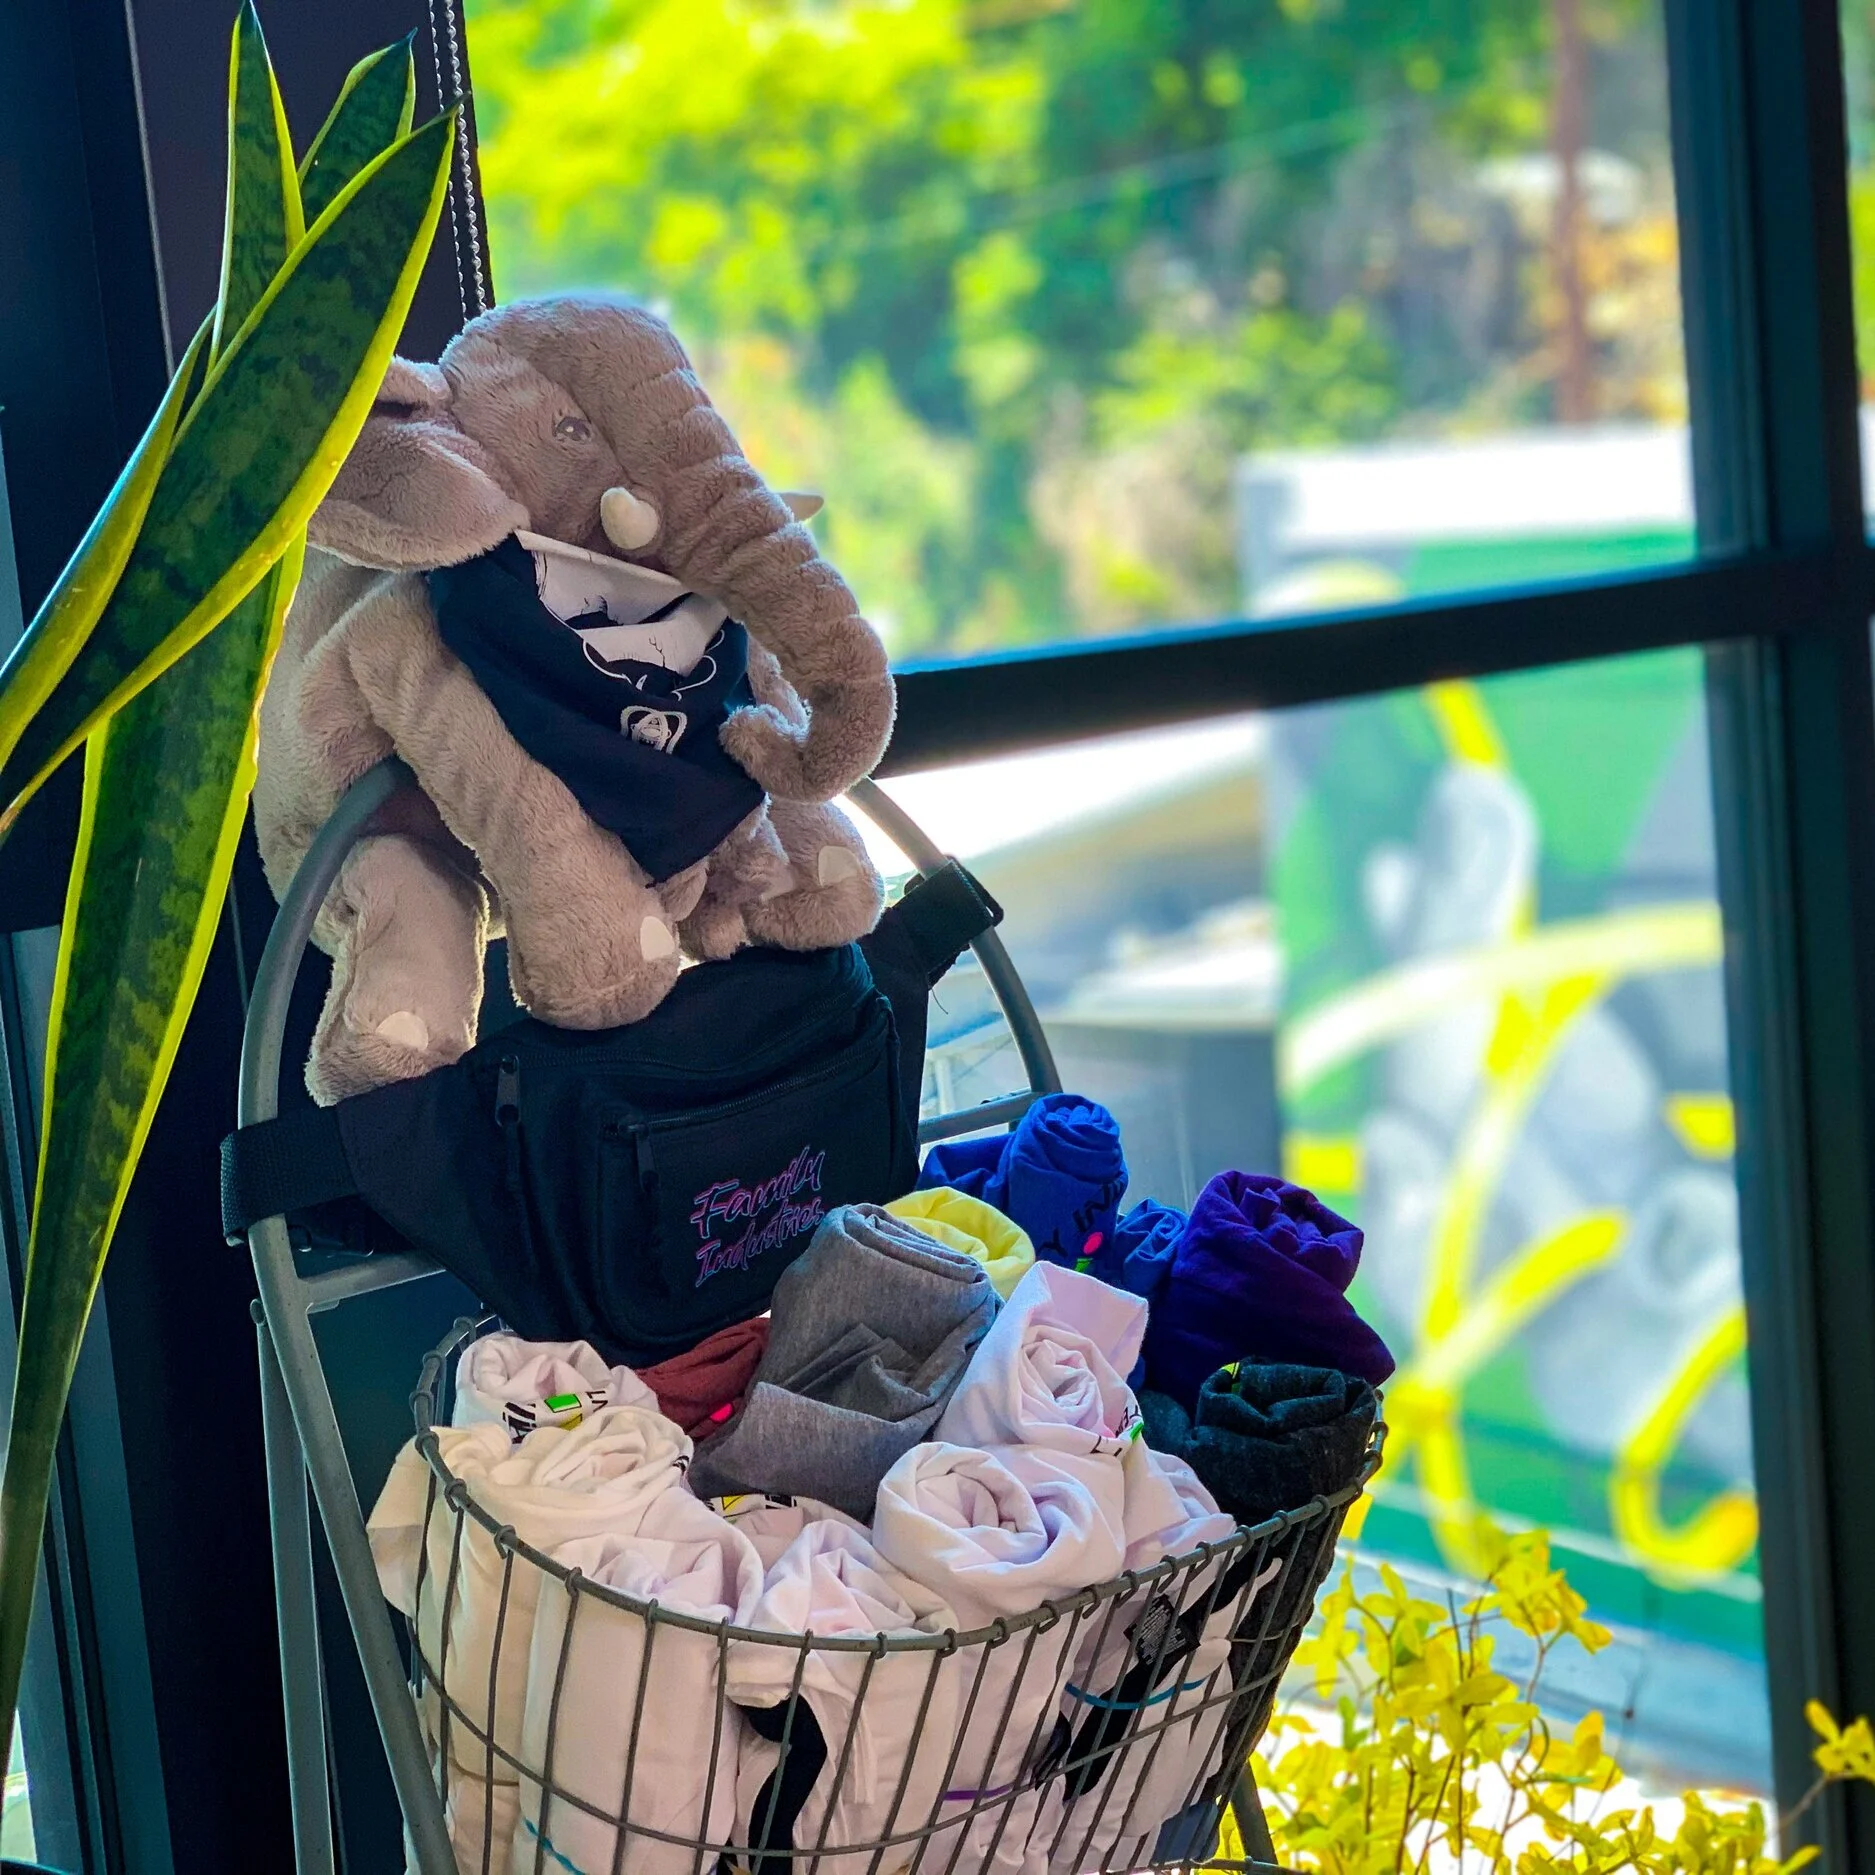
If fulfillment is too much of a challenge for you, a company like Family Industries which is a local print shop in Los Angeles does fulfillment for many of their clients all around the US.

5. Apparel Photography
They say we eat through our eyes and it’s the same concept when shopping. Having well-lit and consistent product photography not only looks nice but it’s extremely important.
Product photography is just as essential as lifestyle images, but keep the lifestyle images to dress up your website and social media channels; while using your nice and clean product photographs for your catalog view.
Check out Clothing & Apparel: 7 Common Mistakes
Product photography generally refers to photographing a specific item (a piece of clothing) without any other distracting objects. For clothing, we recommend you have a model and you have the images shot with a white or single color background. Additional images should show the material and the seams.
Conclusion
Check and double-check that you have copyrights to your artwork and that if you’re using fonts, that you have the correct licensing to use it. Protect yourself from any potential legal issues and provide the correct information about your garment on the tags and don’t forget to add your brand tags.
Make test purchases on your website to make sure your check-out process is smooth and it works to avoid any potential technical issues when you launch.
And always make sure you have high-quality product images, show as much detail as possible for your buyers to feel confident in their purchase.
Additionally, check on your competitors, not only can you get inspiration but you can look for ways to set yourself apart, and come up with your own style that is better, and also offer things your competitors are not already offering.
Author: Irene Floridia - Content Creator
Follow us on Instagram and Facebook!
For FAQ, check out our site!
For any inquiries, send us a message!
OR
send us an e-mail at quotes@familyindustriesla.com
Our showroom at 2755 Fruitdale Street, Los Angeles, CA 90039 is open by appointment only from 10 am - 4 pm Monday through Friday.