how to

Best Merch For Festival Season 2023

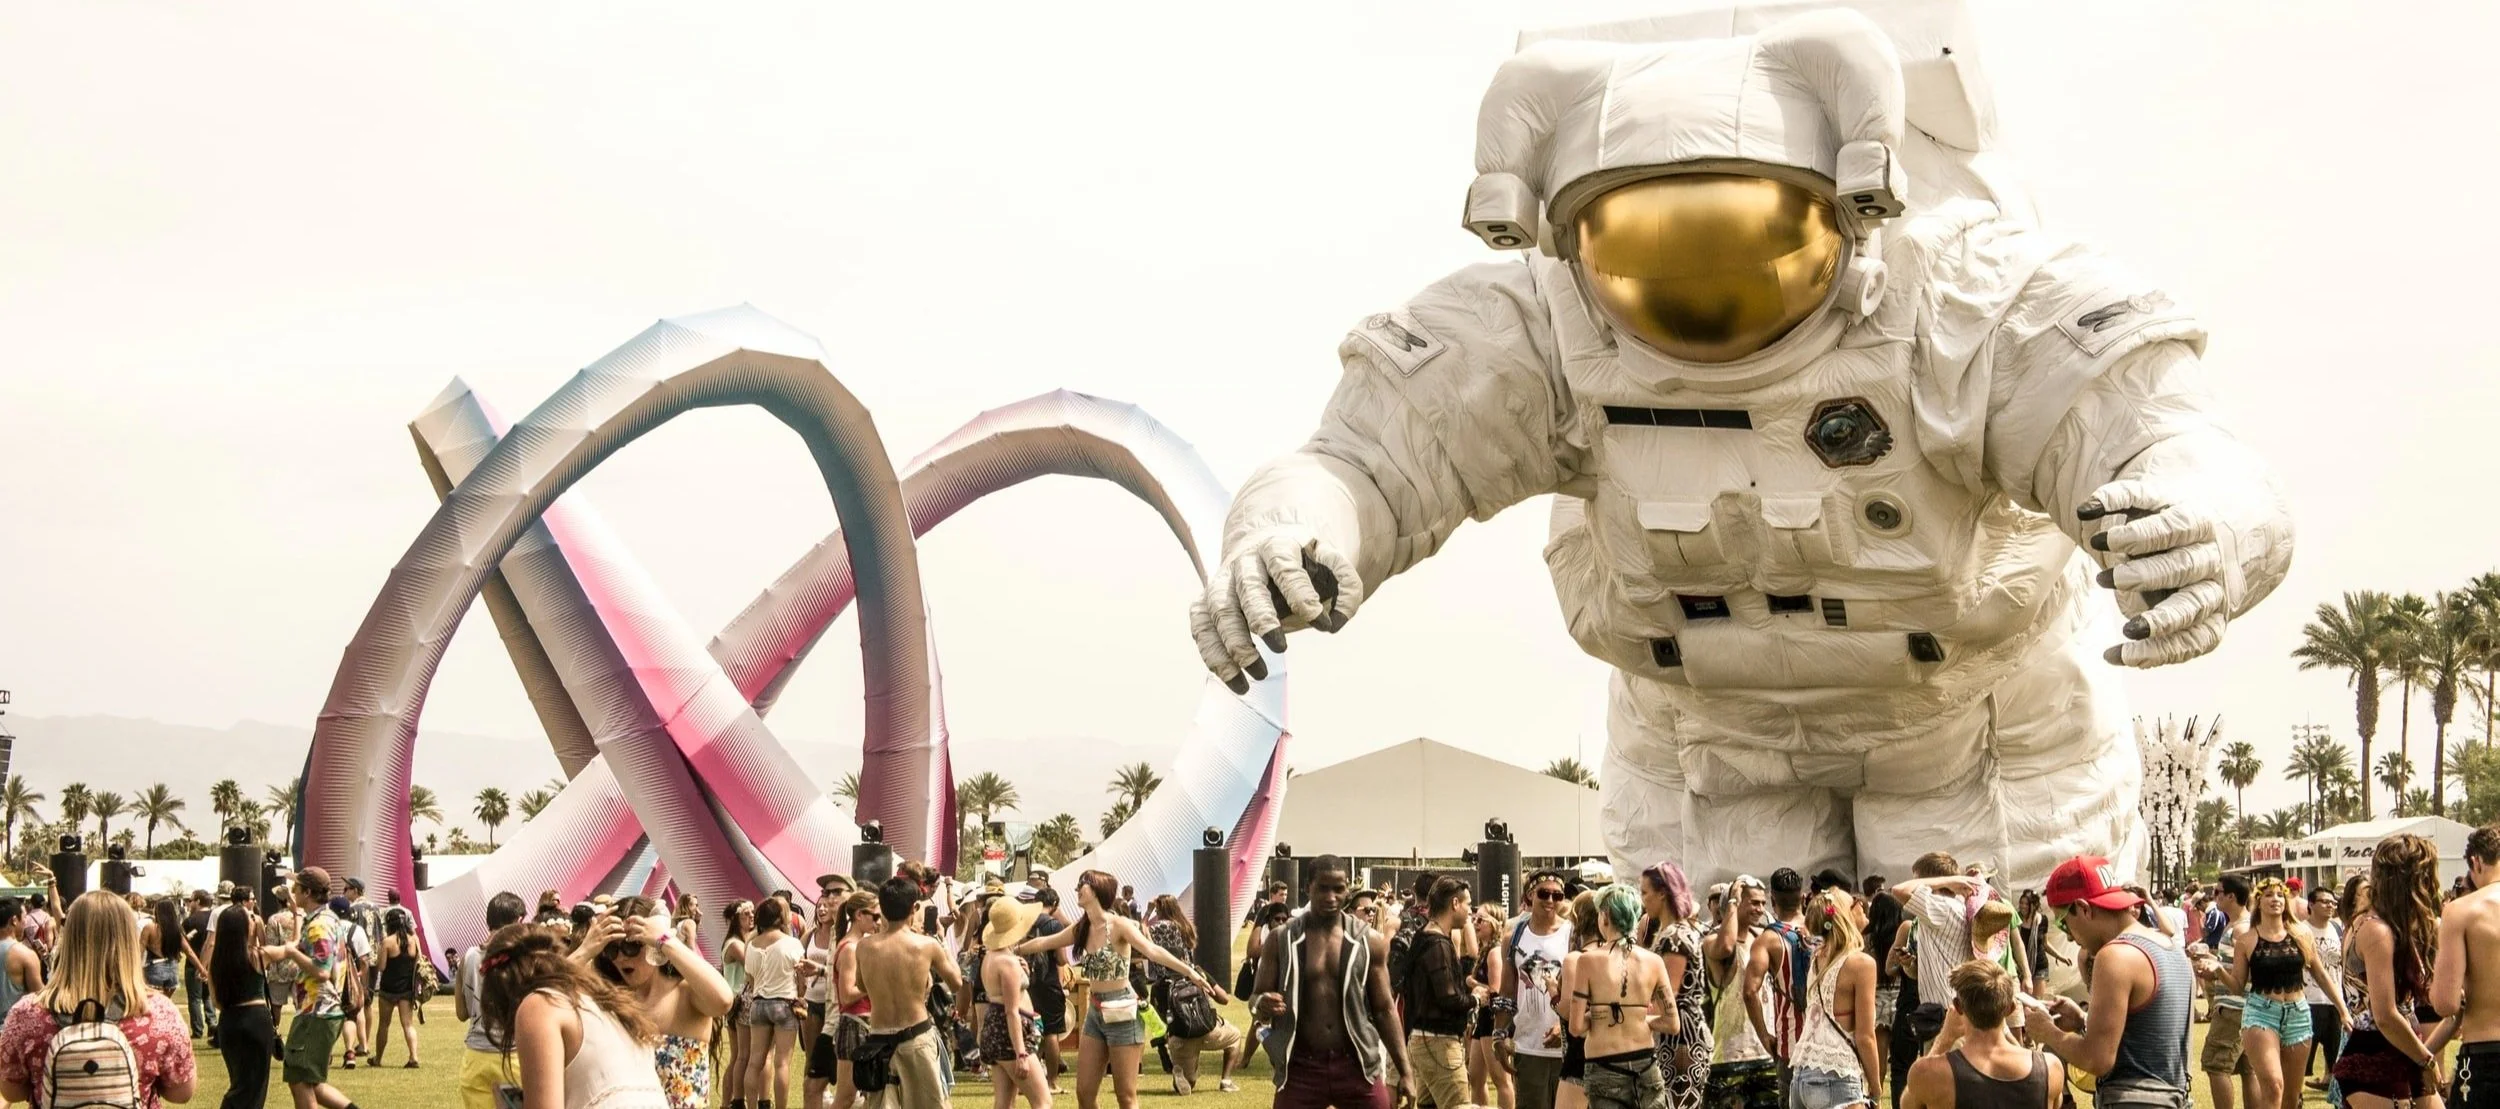
With Coachella coming back after a 2 year hiatus due to Covid-19, other festivals are following suit - as a brand you may be thinking about what the best merch is for festivals in 2022. Festival merch is unique in the sense that in order to be successful, it should be a product that can be used during the event or have a limited-edition feature.

How To Make Great Merch

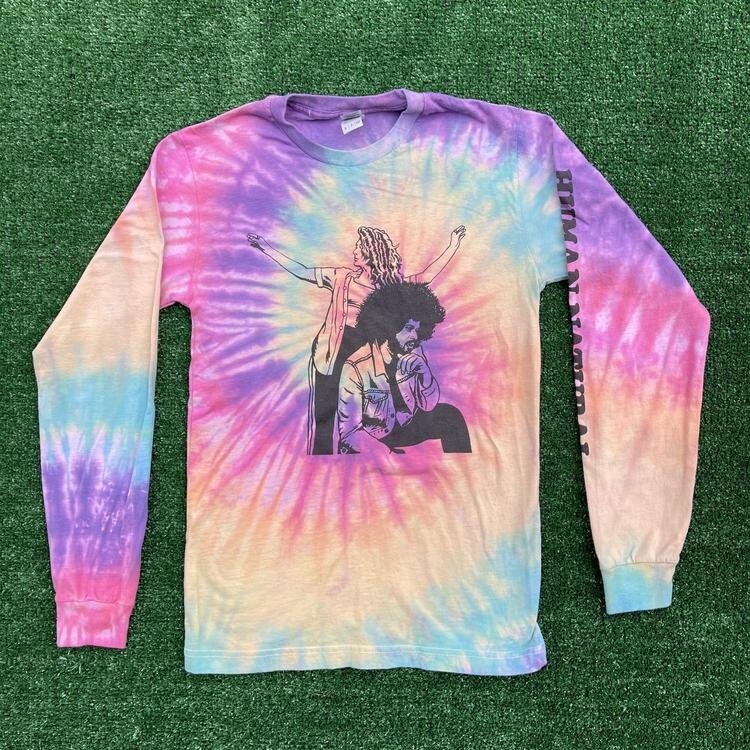
Band merch for festivals can be tricky because people expect to see new merch made specifically for the festival. Many artists will design specifically for their events with new artwork and only available at the event.

Band Merch That Is Useful

Creating merch that can be used during the event is a great way to incentivize event goers to make a purchase. Useful items such as bags, blanket, or sweatshirts (depending on the weather).

Keep it simple. It’s easy to get carried away on a merch stall at your own show, but at festivals, there are too many other bands and musicians to keep people’s attention for long.

Know Your Market

As always, it helps to look at some data. According to studies, merch spend varies quite significantly depending on a festival’s predominating genre. ‘Alternative’ events have the highest spend, followed by rock and metal. Attendees of EDM and indie festivals tend to spend much less.

However, rock and metal festivalgoers buy disproportionately more merch that carries branding for a specific artist or festival.

Be Prepared

get your merch well prepared, choose one or two designs, and make sure your booth is presented in a way that is inviting and easy for the eye to scan. Selling custom band merch that is specific to your fans is key. Alongside creating and performing music, your store can become an extra stream of income.

Having a physical product on-site is necessary, however, giving the eventgoer the ability to order the merch to then be sent to their mailing address is an even better option! especially if you’ve run out of product - this could be a good way to reduce cost and prevent overstock.

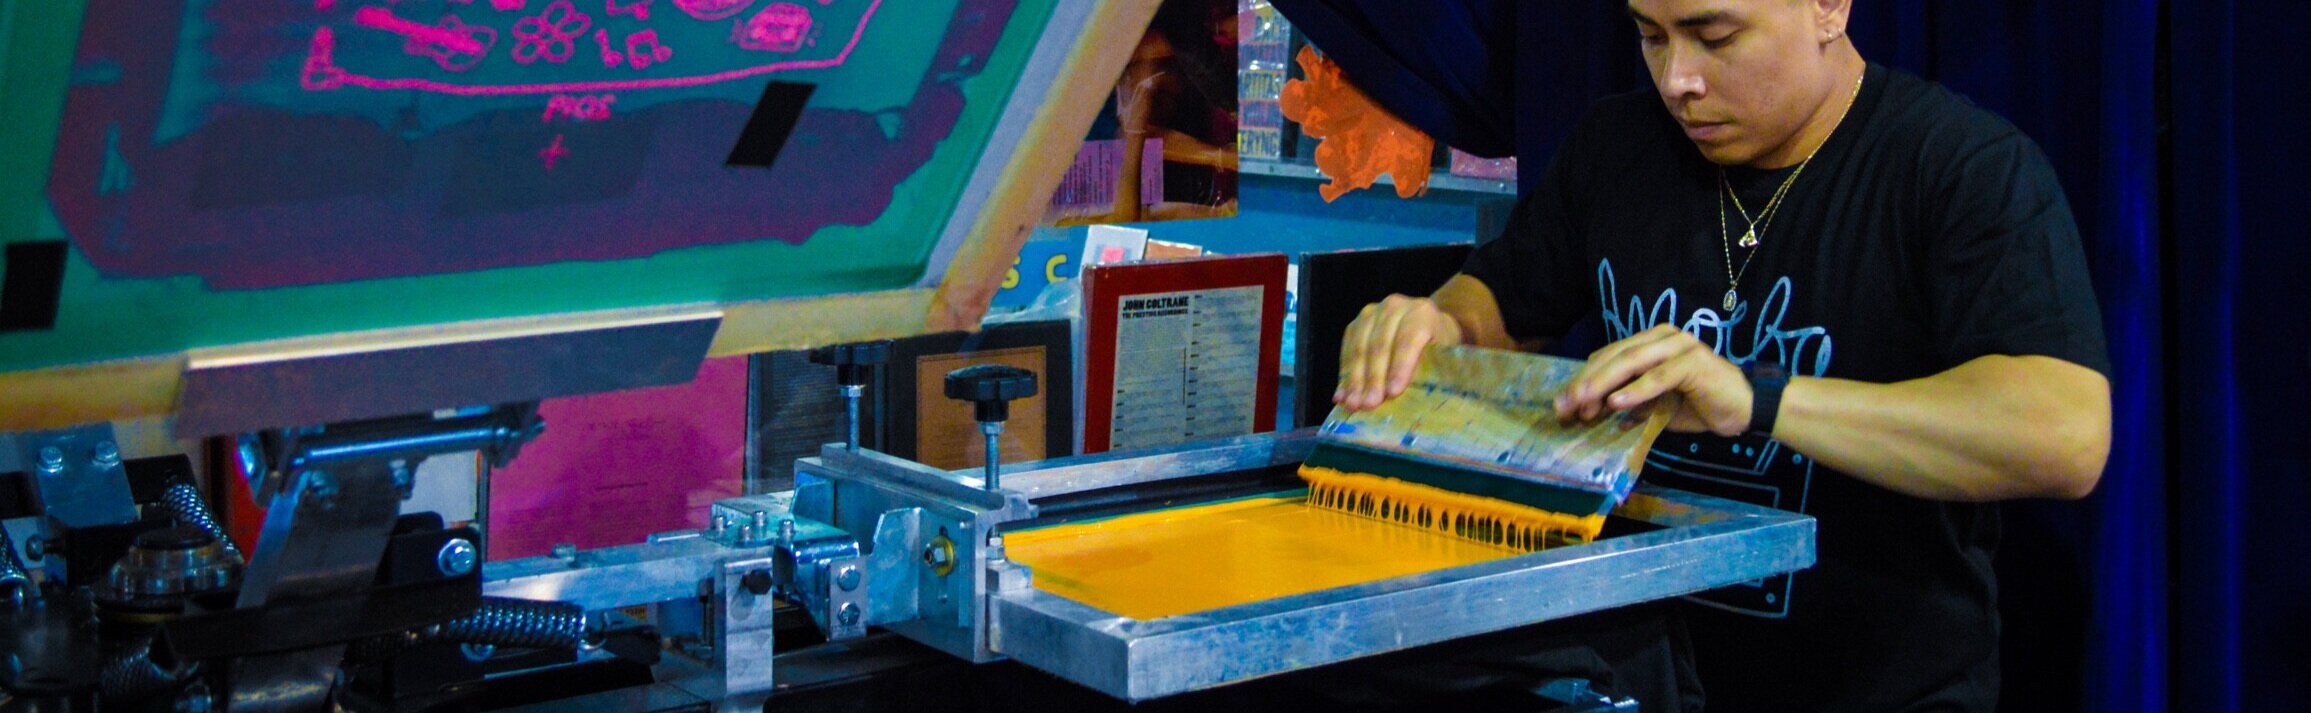
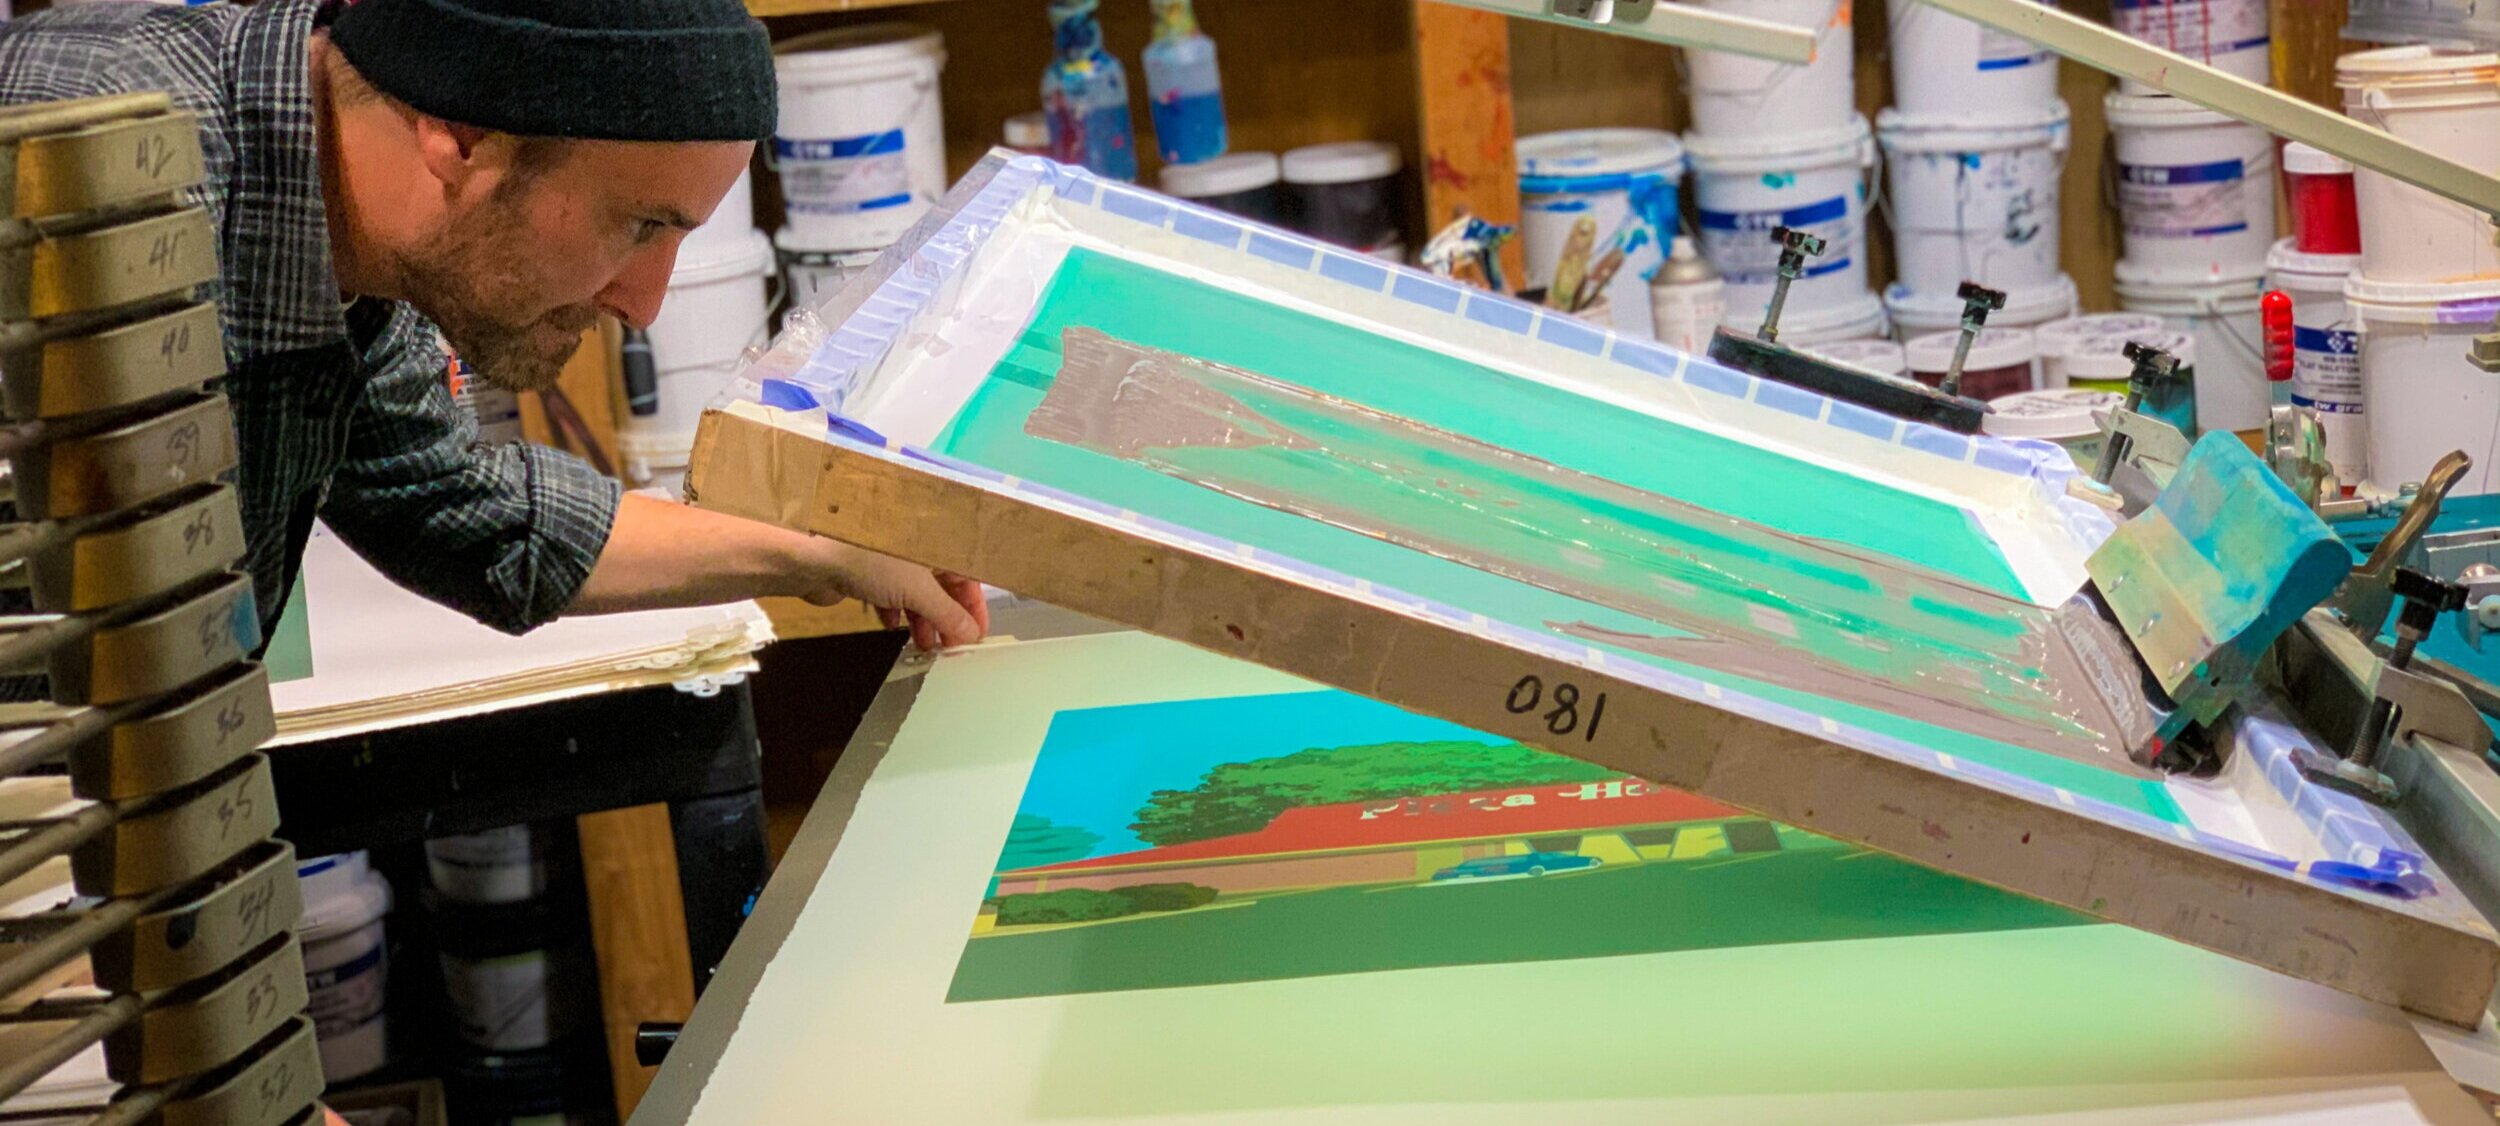
Pro Tip: The best way to sell band merch is by partnering with a print-on-demand company. POD is an order fulfillment method where items are printed and shipped to your customers as soon as an order is made.

Read more about The Benefits of Merch Fulfillment Services


Best Festival Merch

The best merch for festivals is novelty items that cannot be obtained online. Limited edition products are also a good way to promote sales at events and give your fans something to look forward to.
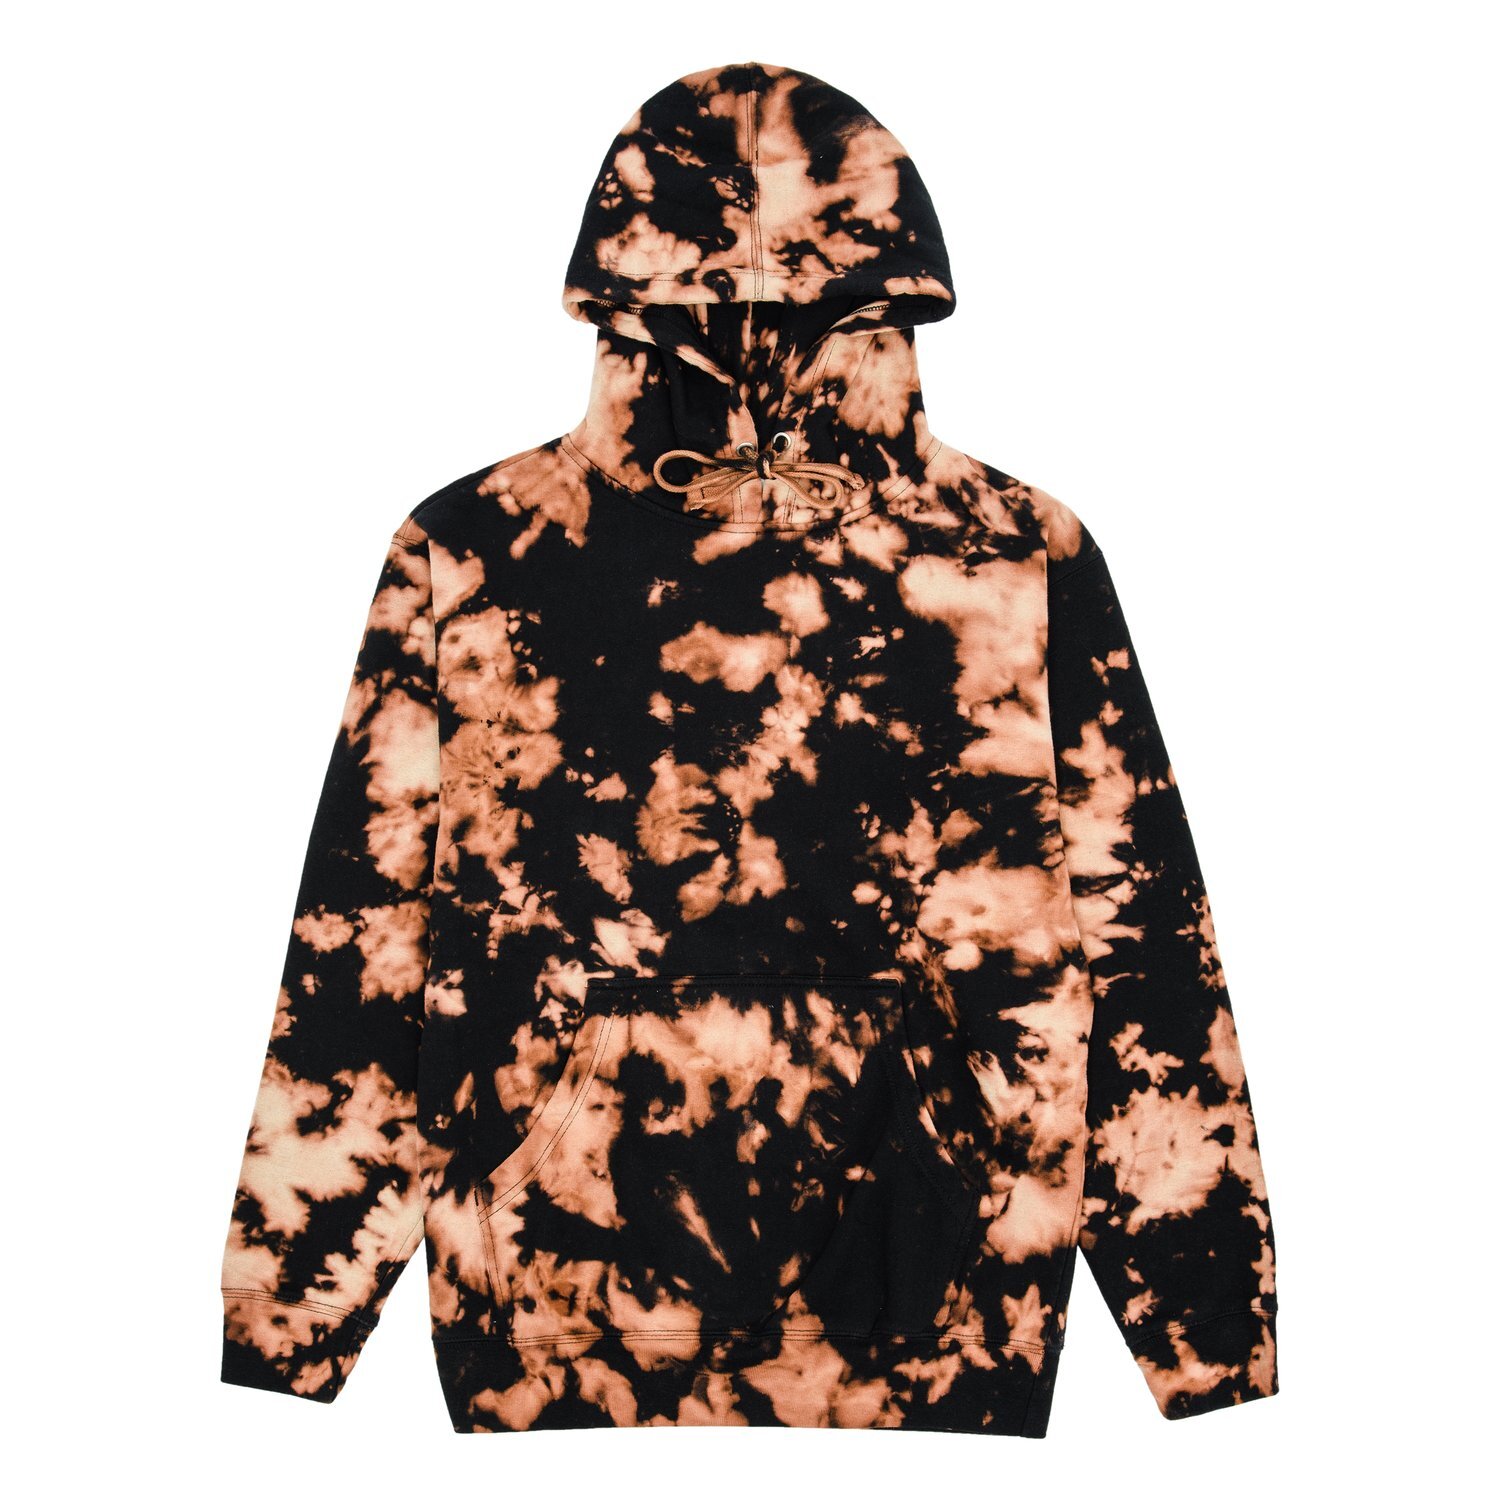
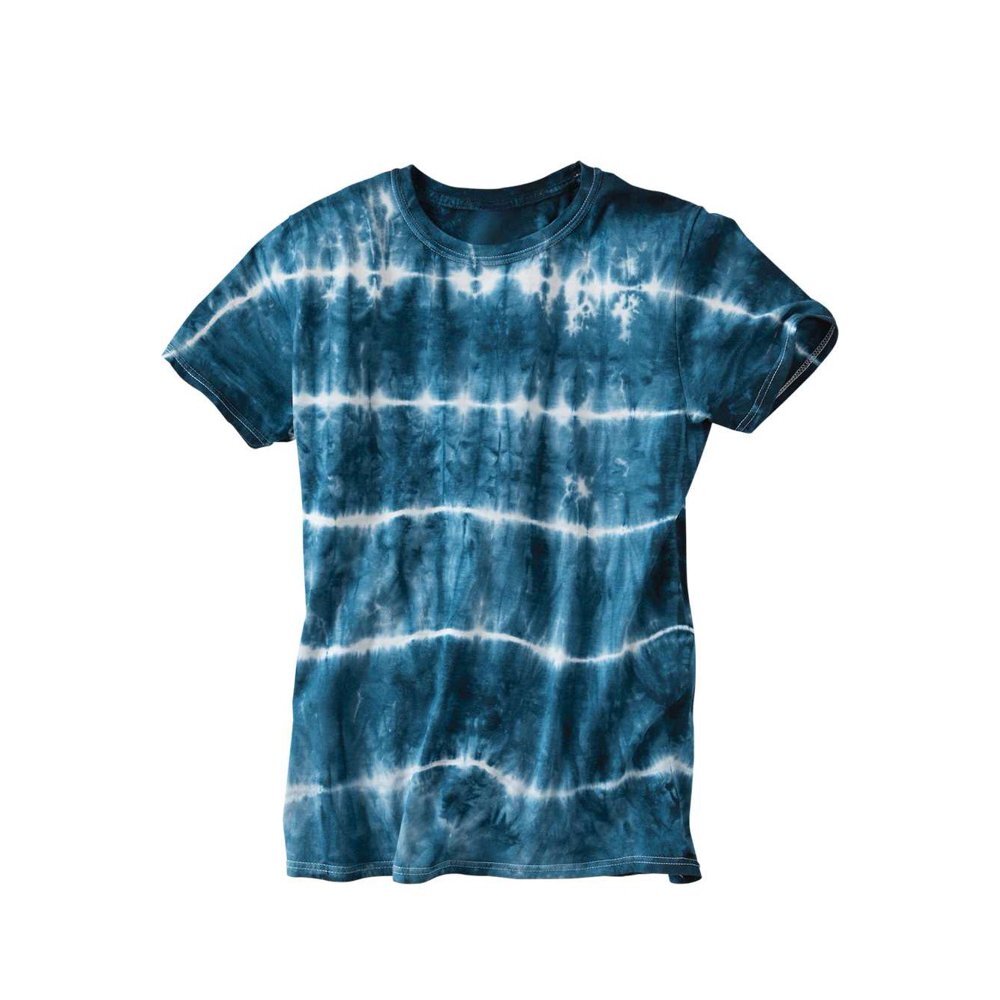
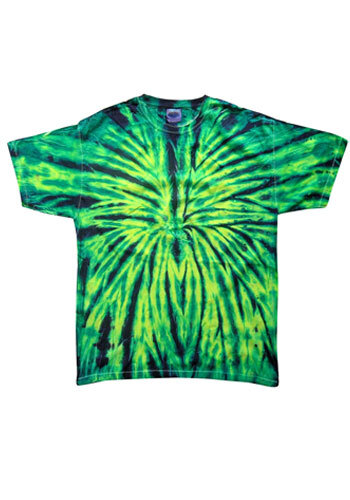
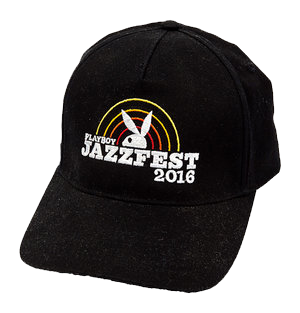
Apparel

Apparel such as t-shirts, hoodies, and hats are essentials for any merch booth. Apparel is also the most cost-effective item that can be sold for a good profit.


Bags

Bags are the best festival merch because they are useful to carrying around water bottles and other personal items, this is the reason why they’re so popular at big events. Tote bags and backpacks are the most common types of bags, but with the 90’s coming back in style, fanny packs or cross body bags could be a great alternative and set you apart from other merch booths.


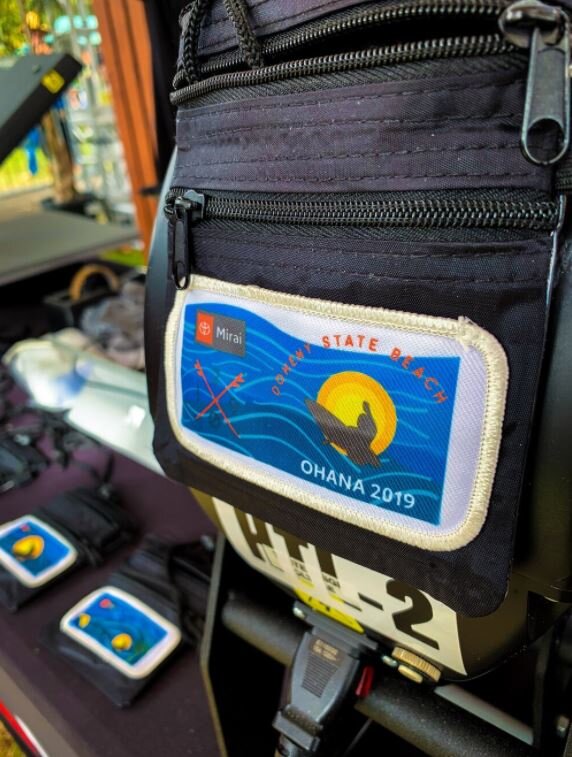
Pro Tip: Backpacks, tote bags, and fanny packs can also be personalized on-site by adding live embroidery or screen printing at the event.


Accessories

Get creative! Some artists have come up with great accessories that speak directly to their fans. Megan Thee Stallion nail tattoos and Dolly Parton puzzles are a great example for out-of-the-box merch that resonates with their fan base. Don’t shy away from non-traditional merch as this could really be the thing that pushes your sales the most.

Author: Irene Floridia - Content Creator


Follow us on Instagram and Facebook

For FAQ, check out our site!

For any inquiries, send us a message!

OR

send us an e-mail at quotes@familyindustriesla.com

Health and Wellness Merch Design

The branded fitness apparel and accessories market grew in popularity when our lives were put on hold due to Covid-19. As more people spent their entire days at home, the demand for some physical and mental release became a priority in daily life.

Workout equipment and accessories were at such high demand that many big brand such as Peloton could not keep up with purchased orders and their delivery timelines were months behind schedule due to supply chain issues.


Fitness Merch

Fitness merch can be broken down into 2 different categories; fitness equipment and fitness accessories. If your business is centered around health, such as a fitness trainer or training program or a fitness supplements retailer you will want your merch to follow the same theme.

Check Out 32 Health and Wellness Business Ideas

Yoga Mats

Weather you do yoga or not, you will need a mat to perform your workouts. A branded yoga mat can be an easy way to promote your brand and add a stream of revenue for your business. Because yoga mats are such a big surface, you have the space to play around with design.

Not only can you print your logo on a yoga mat, but you can add other elements such as abstract shapes and colors or you may take a more simplistic approach. Your yoga mat is your canvas!

Check Out Why Should You Create Your Own Branded Fitness Merch?

Resistance Bands

Resistance bands are more popular than ever! Not only are they a low-cost product, but it’s a great surface to display a logo. Adding resistance bands to a merch store can be a nice addition as they’re not very common for a lot of brands outside of the sporting goods big retail stores.

Resistance bands can also make a good free promotional product if you’re just getting started because of it’s low cost.

Due to the material, it’s important to find the right merchandise product printer as it can be a tricky item to print on.


Sport Water Bottles

Every fitness brand will have a water bottle with their logo on it, and you can definitely go the same route. However, we think adding another element of design can help differentiate your brand from the completion.

Remember to always follow your brand guide and use your brand color and any other identifier. Thinking outside of the box in terms on design will be the best approach when creating basic merch items for your business.

There are also a lot of options when it comes to the design of the bottle itself, make sure you shop around before making a decision.

Athletic Apparel

Athleisure wear trend became popular with the comfort that leggings provided for everyday people going about their daily routine outside of work. Because most people seek comfort, athleisure wear is the perfect merch item for both very active people and perhaps less active but busy people.

Athleisure apparel can help to bridge the gap between people that live a very active lifestyle and people that may not have as much time to dedicate to going to a gym but would still like to feel comfortable while out running errands.

This is the perfect way to introduce your services or retail business to a broader audience.


Wellness Merch

The wellness industry has been experiencing a boom with society focusing more on mental health. There are a lot of wellness businesses that focus on practices such as meditation, yoga, and nutrition. If your business fall into one of these categories, you understand that the potential to sell a product on top of your services can be challenging.

Check Out The Big, Booming Business of Wellness

Candles

Candles are easy to make, this could be the most cost-effective product if you’re looking to make your own candles (which a lot of the businesses in this field prefer to do) and attach your branding to the candle container. Your branding can be in the form of a sticker or a sleeve that wraps around the container.

In addition to the branding on the container itself, there are other things you can offer such as matches which can also be customized with your brand’s logo and can be a nice touch.

Soaps

Much like candles, soaps can be easy to make or manufacture if you choose to work with an established soap supplier. The opportunity for branding is on the packaging.

Soaps are usually wrapped in branded paper and this surface is of significant space to create something that is a clear representation of your brand and overall business mission.

Travel Mug

A travel mug is a more basic and simplistic merch item, however, there’s a ways to make this feel like a luxurious item, which depends on it’s design. Travel mugs come in all sizes and shapes, finding the right mug for your brand is key.

As the example photo shows, this brand chose a simple mug that has soft edges and contains a very simple image clearly defining their brand message. The key is to know your audience and know what they would like to have. Find a mug that you not only would buy for yourself but also buy for someone else as a gift.

Recipe Book

For a content creator that focuses on nutrition, creating a recipe book is also a great way to engage your audience in a deeper level. Many of us also like to have a tangible frame of reference when we are cooking, therefore, a book of recipes can be the best merch for this type of service or entertainer.

It doesn’t have to be perfect, you can play around with design and it does not have to be thousands of recipes. Choose from your most popular dishes and curate a list of them for a limited-quantity run recipe book.

Author: Irene Floridia - Content Creator


Looking for The Best Health & Wellness Merch printer?

send us an e-mail at quotes@familyindustriesla.com, or give us a call at 323.227.1547 and we'd be happy to help.

Our showroom at 2755 Fruitdale Street, Los Angeles, CA 90039 is open by appointment only from 10 am - 4 pm Monday through Friday.


Follow us on Instagram and Facebook

For FAQ, check out our site!

For any inquiries, send us a message!

OR

send us an e-mail at quotes@familyindustriesla.com

5 Influencer Merch Ideas To Help Launch Your Store

As an influencer you’re constantly selling other brands’ products, however, when it comes to selling yourself, we think there is a lot of missed opportunities; especially when you have a large following that is active in engaging with your content. So how do you get started? We’ll take you through some ideas to help you launch your own merch store.


Why Do Influencers Need Merch?

Merch is a great way to earn money without damaging your image. While major brands are always looking for influencers with a large and dedicated following, it's likely that you will only have so many opportunities to partner with them on sponsored posts or ads. With merch, however, you have another five or ten ways to earn money without ever having to discuss any subject matter that may not resonate with your audience. If you're considering expanding your earnings as an influencer, this could be the perfect solution.

But merch isn't just another way to make extra money—it's also a great way to get additional exposure on social media. Influencers who create and sell their own products can use their channels to promote them in new and interesting ways.

For example, they might post pictures of themselves wearing the product in various locations around the world; they might even host giveaways for fans who purchase it! And when influencers take advantage of opportunities like this one (which is often given away at conferences), it results in lots more likes and comments on Instagram. In fact, some studies show that each new product sold through social media gets its creator about $5 worth of free advertising—not bad considering they don't even have spend any money upfront!

Check Out The State of Influencer Marketing 2022: Benchmark Report

Brand Awareness

While influencer merchandise is a product, it’s also a conversation starter. As an influencer, you can use your commercial products to connect with your audience and share who you are outside of the confines of social media.

For example, you can use the notes section on your Shopify store to chat directly with customers and offer them inside information about the brand. Similarly, fans can share their own story by posting pictures of themselves using or wearing your merch.

The result: Influencers have built communities around their unique brands and stories, but their merchandise is more than just another way to audiences to show support. It gives fans the opportunity to interact in meaningful ways outside of the digital world while continuing to build strong connections and leads to loyalty and sales down the line.

Read More 9 Instagram Growth Strategies to Grow Your Following

Loyalty

Here’s a scenario: You post on social media telling your followers all the placed they can buy merch, and it would be nice to see photos of them wearing their new purchases. In addition to getting your followers excited about the products you’re selling, this exercised will get them more involved with you and your brand. These interactions will strengthen your relationship with your audience and lead to more people wanting to buy merch from you down the road.

Read More How Promotional Merch Cultivates Brand Loyalty

Gather User Data

Influencer merch will help you gather vita user data by giving you a crucial contact and payment information. This gives brands opportunities to upsell.

Influencer merch is a relatively new space in e-commerce that allows influencers to create custom products for their followers. These product can be designed and sold directly through the influencer’s social pages and websites, using merch print shops such as Family Industries.

Collecting data can help you determine who your users are and what they want from your brand. Use this information to better target products for your niche audience. It doesn’t matter how much data you collect if you don’t use it properly.

Active Revenue Stream

Merch is a great way to earn money without damaging your image. While major brands are always looking for influencers with a large and dedicated following, it's likely that you will only have so many opportunities to partner with them on sponsored posts or ads. With merch, however, you have another five or ten ways to earn money without ever having to discuss any subject matter that may not resonate with your audience. If you're considering expanding your earnings as an influencer, this could be the perfect solution.


Influencer Marketing Industry is set to grow to approximately $16.4 Billion in 2022
— The State of Influencer Marketing 2022: Benchmark Report

5 Influencer Merch Ideas

Before you establish a line of merch item, make sure you have a logo, a font, and brand colors established. Some logos may not work with certain items so it’s important you have a good idea of what you want your branding to look like whether it’s your name or your Instagram handle make sure you have the right dimensions and file type.

Check Out MERCH IDEAS FOR STREAMERS AND YOUTUBERS

  1. Apparel

Avani 'YOUISBEBE' Tie Dye Sweatpants

Anything that can be worn is a staple in every merch store. T-shirts, and sweatshirts or hoodies are essential and a great way to promote yourself or a project.

To ensure success, it’s best to not only use your name or social medial handle but include some type of graphic, like a logo. If you don’t have a distinctive logo or graphic, we suggest to work with your merch agency or a graphic designer to develop one that best represents you.

Printed sweat pants have now become a popular item for most merch stores in 2022 as well as sweat shorts with the same graphics. You can have sweats screen printed with your logo and other designs. Be creative!

2. Hats

Middle Kid logo bucket hat

Once again, hats are a staple for merch stores - however, beanies may sell best during the winter and other hats like bucket hats sell better in the summer.

Seasonality is something you should consider with merch that is wearable. This way, if you plan accordingly you’re always ahead and you avoid overstock of certain items.

3. Bags & Backpacks

Jake Paul Backpack


Bags not only serve a purpose, but can be the best canvas for your logo and other branding attributes. The possibilities of what you can print on a bag such as a tote bag or backpack provides an opportunity to get very creative.

Using a lot of colors and fun graphics is recommended, you want to have your bag stand out.


4. Tech / Lifestyle

Addison Ray iPhone Case

Phone cases are affordable merch items and one of the most popular items among the Gen Z audience. If your demographics fall within the ages of 14 through 25, a phone case is a great option.

Tech accessories are also less hassle to sell as there are no sizing requirements and returns tend to be low for items like this.


5. Accessories

As a content creator, it’s important to have a merch item that directly speaks to your audience and correlates with the type of content you are creating.

For example, if you’re a fitness influencer, a cool yoga mat or stretch bands with your logo would be ideal. Sport merch items such as balls are good if you’re a sports content creator.

Lifestyle creators have a bigger list of merch items to choose from especially when it comes to accessories. For lifestyle brands you can go anywhere from drinkware to loungewear, making it easier to build a solid merch line that covers all aspects of everyday life.

Author: Irene Floridia - Content Creator


Looking for The Best Influencer Merch printer?

send us an e-mail at quotes@familyindustriesla.com, or give us a call at 323.227.1547 and we'd be happy to help.

Our showroom at 2755 Fruitdale Street, Los Angeles, CA 90039 is open by appointment only from 10 am - 4 pm Monday through Friday.


Follow us on Instagram and Facebook

For FAQ, check out our site!

For any inquiries, send us a message!

OR

send us an e-mail at quotes@familyindustriesla.com

Different Types of Screen Printing Techniques

31A388A2-3469-40DF-B89A-9D7A12E8FFD8.jpg

Screen printing might sound like it’s a straightforward process but there are many print effects that can be achieved with the right technique. The different screen printing methods are used to create a specific look to fit with the style you’re looking for. In order to achieve certain looks, you may need to adjust your artwork file or overall design. Don’t worry, we will take you through those steps!

In this guide, you will find the best T-shirt printing methods explained, exploring how each method works, the process, and the end results. Each of these methods are widely used by screen print shops around the world.

About Screen Printing

IMG_8615-2+%281%29.jpg

Screen printing is one of the most popular, established, and widely used amongst print shops. The process involves using screens to apply ink to apparel and other various materials. Also known as silkscreen printing, screen printing is a versatile and effective printing method that allows you to produce T-shirts with outstanding quality and a tactile feel. And, because the inks are absorbed deeply into the fabric, it is possible to achieve vivid, bright colors and maximum durability.

This is one of the most traditional methods of T-shirt printing, with experts believing it dates back as far as ancient China. However, it became popular in the 20th century, when Andy Warhol used the technique to create his iconic Marilyn Monroe portrait. It has since been used to create flatstock such as band posters, art prints, and graphic tees.

What Is The Screen Printing Process?

screen-printing.jpg
  • Design Creation

    • Screenprint designs are often done using various software such as illustrator. You will want to ensure your file is in the right format before you begin creating your design. Size is very important and you will want to ensure the file can be re-sized according to the print surface.

  • File Formatting

    • Vector files are needed to create a perfect print. Vector files are mathematical calculations that create lines and figures on our monitors. Unlike working with pixels, you can expand or minimize these vectors as much as you want, without impacting the quality. As well as being saved as a vector, the artwork must also be separated, with each color on a different layer. This is because, in the screen printing process, each tone is printed using a different screen.

  • Screen Preparation

    • The screen needs to be coated with a photosensitive emulsion. This creates the green background you might have seen on a screen printing screen. This is a simple process but must be done carefully to ensure that the liquid is distributed evenly.
      For the photosensitive emulsion to work properly, it must be left to dry in a cool, darkroom. If the emulsion is exposed to light at the wrong time, it could jeopardize the full process.

  • Stencil Creation

    • Once the screen is dry, the design is placed on top of it and secured in place using an adhesive. The screen is then placed under a strong source of UV light. The parts of the screen that haven’t been covered with the design will harden, while the rest will remain soft. In effect, the design has now been burned into the emulsion. When the screen is fully dry, the design can be removed using a small brush and water. A negative component of the artwork will be left and the artwork is ready to be printed using the preferred ink and technique to achieve the right look.

  • Color Separation

    • If your design features more than one color, the process is repeated so that each color in your design is separated into individual layers on different screens. So, if your design has two colors, you’ll need two screens.

  • Application

    • Now that the screen is ready, it’s time to start the actual printing. The T-shirt will be placed in the screen printing machine, with the screen carefully placed on top. The ink will then be placed on top of the screen and evenly distributed across the surface using a squeegee.

Learn more about the life of a screen from The Metropolitan Museum of Art

What Are The Different Types of Screen Printing?

image.jpg

With screen printing, you can create different finishes such as crackle or glow in the dark, but there are also different techniques that can be done to create a specific look for your print. These different techniques are used when you have a specific look in mind or you’re looking for a specific or unique aesthetic.

Spot Color Screen Printing

Spot Color Screen Printing is the most common t-shirt printing method. It uses the stock color of the ink by printing it through the stencil of the screen. It produces a vibrant solid spot of color and creates a thicker layer of ink depending on the ink and mesh count used.

Being it is one of the most beneficial in printing darker garments. It is useful for printing 1 – 4 colors; when you have more spot colors, other printing methods such as the simulated process may be a good option.

Because spot colors layer an infinite amount of colors, they can provide a much more vibrant and detailed print. In addition to the variety of options, spot colors provide much better consistency from print to print. When printing a solid color with process inks, there may be slight variations in the color balance that can affect the color’s consistency. While spot colors may cost a bit more, they can add a lot to your project making the extra cost well worth it in the end. Check “How To Screen Print: Spot Color”.

Halftone Printing

Halftone prints are single or multiple colors in which gradients are printed. These tones can range from solid spots to halftones of the same color. This screen printing method is excellent when you want to achieve the look of multi-color printing without actually doing it. This screen printing method emphasizes the use of shading with tiny dots, pictures can be printed using halftone screen printing and only use one single color to do so.

For example, if you want to get a pink radiant color on your white t-shirt, you can print red on a white shirt and include a 50% gradient. The 50% gradient will mix with the white to give it a pink appearance, all using only one screen and one color. It improves the graphics quality and produces a softer feeling print when printed directly onto the garment. Check “How To Get Started Screen Printing with Halftones”.

Grayscale Printing

Greyscale printing is a great way to print full-color images as one-color grayscales or halftones. Full-color photographs can be printed as a one-color halftone. Full-color drawings containing a complete range of different colors may also be produced employing a one-color halftone.

Typically it’s done in black ink on a light garment, but technically speaking, it can be done in any color ink as desired. The resolution will depend on the lines per inch used in the dot pattern.

The more dots a halftone has, the more detailed the print will look. It is a great cost-effective screen printing technique to print black and white photographs on garments. Watch “Convert a full color image to grayscale for screen printing using halftones”.

HOW IS HALFTONE PRINTING DIFFERENT THAN A GRAYSCALE?

Halftone printing is different than grayscale printing for several reasons. The first is the fact that halftone printing involves using one color to create various shades and portray the desired image as a result. Grayscale printing, on the other hand, is the specific use of gray shades from black and white.

Duotone Printing

Duotone printing, also known as multitone printing, is the combination of two halftones for the same image printed with two colors. First, a black halftone is printed on white tees, and then a second halftone will be printed with color ink.

The color halftone combines with the black halftone to produce a duotone color hue. It gives a retro and cooling effect to the prints on light-color garments and gives a full-color print appearance but at a much less expensive rate. It also produces a softer feel print when printed onto the garment.

This process requires that the press be set up with special inks, usually PANTONE-designated colors, instead of the standard CMYK inks used for process color printing. Check out “Creating and Separating Duotone Images”.

CMYK Printing

CMYK is the oldest, color reproduction, print method. Using cyan, magenta, yellow and black ink, screen printers can print designs on white or light-colored garments. For users skilled in CMYK file preparation, Photoshop, and screen creation, this is still a viable print process for light-colored garments.

CMYK printing is the most complex of all screen printing techniques and should be done on an automatic press. It can be done manually, but for optimum results, you need an automatic t-shirt press.

The printing process combines the above four colors to recreate the original image’s full tonal and color range. Moreover, it is an expensive process. Additionally, CMYK is implemented less because simulated printing is more dominant. Watch “How To Screen Print T-Shirts in CMYK”.

Simulated Process Printing

A simulated printing process is a method used to reproduce almost any image on the market. It does so by overlapping and blending colors in a method similar to CMYK through using halftones and spot colors and/or PMS colors. Essentially, it's a way of taking an image that historically would have been printed via CMYK but instead uses more opaque ink to create a more stable color and production-friendly ink that can print almost any design for any garment.

Moreover, it is most often the process used to print complex images on black-colored garments. Designs that are too difficult to separate in a vector program, raster images, photographs, complex tonal illustrations, are all doable with Simulated Process. Watch “How to Screen Print: Simulated Process”.

Learn more about the different screen printing methods “CMYK vs. Spot Color vs. Simulated Process Printing”.

Author: Irene Floridia - Content Creator


Share This Article:

Follow us on Instagram and Facebook!

For FAQ, check out our site!

For any inquiries, send us a message!

OR

send us an e-mail at quotes@familyindustriesla.com

Our showroom at 2755 Fruitdale Street, Los Angeles, CA 90039 is open by appointment only from 10 am - 4 pm Monday through Friday.

The Process of Printmaking

IMG_7362.jpg

When looking at the history of printmaking, we see evidence of this artform going back thousands of years and in many different cultures. The art of printmaking has evolved in the types of techniques used to achieve prints, and not only on paper but on other surfaces such as wood, metal, and glass. In this article, we will take you through the different techniques and applications as well as a little bit of the history behind this art form.

What is Printmaking?

Printmaking is an art form consisting of the production of images, usually on paper but occasionally on fabric, parchment, plastic, or other support, by various techniques of multiplication, under the direct supervision of or by the hand of the artist.

5 Types Of Printmaking

Woodcut

Woodcut Print by WoodcutEmporium

Woodcut Print by WoodcutEmporium

Woodcut printmaking was first used as a means to print books and create repeating patterns for textiles, and it eventually turned into an art form. The process of creating a woodcut print is by carving out negative space from a surface, leaving only the lines and shapes that you want to appear in the print, and then coat the remaining surface with ink. The next step is to place the inked surface on a piece of paper, and finally, create a print by placing pressure on the back of the block - with a roller, printing press, or other tools – to transfer the ink onto the page.


Engraving

Engraving is the oldest and most difficult form of printmaking. Unlike relief printmaking (where ink is placed onto a surface) engraving involves making incisions or grooves in a plate, covering the plate with ink, and wiping the surface, so that the ink remains in the grooves. Then, the plate is placed in a printing press, which forces the paper into the plate’s grooves to pick up the ink. When the paper and plate are peeled apart, you’ll see that the ink has adhered to the paper.
The incisions in an engraving are entirely produced by carving into the plate by hand, which is why it’s one of the most challenging printmaking methods to master. The technique typically calls for the use of a burin - a steel rod with a sharp, oblique tip attached to a rounded top for the hand to firmly grasp onto – to draw into a metal plate.

Etching

Graphic Etching “Surfeit” by DariaSobieskaGrafika

Graphic Etching “Surfeit” by DariaSobieskaGrafika

Etching is an intaglio printmaking process in which lines or areas are incised using acid into a metal plate in order to hold the ink. In etching, the plate can be made of iron, copper, or zinc.

The etching process involves incising marks into a plate through a process called biting. First, you cover a metal plate with a wax-like layer called the “ground.” Then, you draw your design onto the plate with a needle; no pressure is needed as you only need to scratch through the surface of the ground. When the drawing is finished, you coat the back of the plate with a varnish, then immerse the plate into acid. As the plate lays in the acid bath, the acid will eat away at the marks you made, creating fine incisions.

Lithography

Lithography Print “Tea stall” by Chetanartindia

Lithography Print “Tea stall” by Chetanartindia

Lithographs, which were created in 1798 in Munich, are made with a large slab of limestone or metal plate and require an intensive process of developing an image on the stone or plate.

To begin making a lithograph first you need to prep the surface of the stone with grit, a sand-like dust, and a levigator, which is a heavy circle of steel that is attached to a handle. With some force, you start spinning the steel across the surface to grind it down a millimeter at a time. This is a crucial step for leveling the stone, which will provide an even print.

Next, the stone needs to be sensitized by dampening it and applying an acidic liquid across the entire surface. Then, the solution is rinsed off, and when dry, you apply a substance called “gum arabic” around the edges to create a border for the print area. Now you draw your image onto the stone with greasy tools such as a lithographic crayon or ink.

Once complete, you begin the transfer of the image onto the stone by an intensive process that involves layering talcum powder, resin, liquid-etch solution, gum arabic, and mineral spirits. Finally, you will ink the stone and print the image with help of a press.

All of these steps play a role in transforming the surface of the stone so that whenever a mark with a greasy material was made, the ink would stick to the surface of the stone.

Screen Print

Screen Print - “Her” Illustration by Raphael Kelly Printed by Family Industries

Screen Print - “Her” Illustration by Raphael Kelly Printed by Family Industries

Screen printmaking originated in China as a way of transferring designs onto fabrics, following this, the Japanese began using simple stenciling techniques as a way to create imagery. They would cut stencils out of paper and mesh was woven from human hair. They used stiff brushes to force ink through the mesh onto the fabric.

In the 1930s in New York, a group of artists began experimenting with screenprinting as an artistic medium by applying it onto paper. They coined the term ‘serigraphy’. Later in the 1960s Pop artists such as Peter Blake and Andy Warhol used screen printing as an essential element to creating their artwork. These artists established screen printmaking as a medium for creating contemporary art by popularising the method.

What is the process of Printmaking?

Screen Printing, also known as silkscreen printing is unique in the sense that the print isn’t made directly from the surface of the block or plate; instead, the image is printed through a screen mesh using stencils, and within this medium, there are a few techniques used to achieve specific prints. People new to screen printing often first learn how to create hand-cut stencils. In this method, you use an X-acto blade to cut out a design from a sheet of self-adhesive plastic film. Then, the shapes are positioned on the film to the bottom of a mesh screen and place on top of the paper.


At Family Industries we practice the art of screen printmaking, using stencils and exclusively on French Paper, the gold standard for screen printed posters. Screen printmaking is ideal for high-quality posters, art prints, and other types of flatstock. Screen printed posters are always a hit and are a great way to make small or large runs of your custom artwork. Whether you’re a band who needs tour posters or an artist looking for a premium-quality replication, the team at Family Industries takes great pride in our poster printing department.

Author: Irene Floridia - Content Creator


For questions, send us an e-mail at quotes@familyindustriesla.com, or give us a call at 323.227.1547 and we'd be happy to help.

Our showroom at 2755 Fruitdale Street, Los Angeles, CA 90039 is open by appointment only from 10 am - 4 pm Monday through Friday.

How To Tie Dye: A Guide in Techniques

unsplash-image-CH0Rho6deI8.jpg

Summer is almost here and with 90’s fashion becoming more popular among TikTok’s Gen Zs’ creators, tie-dye is all the rage. If you’re like us and love to scroll on TikTok for hours, you’ve probably come across a couple of tutorials on how to get the perfect tie-dye t-shirt or even sneakers! In this post we’ll take you through the different techniques to get the right result for what you’re trying to achieve.

How To Tie-Dye

We’ll show you different tie-dye techniques on this article that show you how to tie dye like a pro, but here are some tie-dye basics to help set you up for success! Whether you are wondering how to tie dye a T-shirt, how to dye socks or pretty much anything else, here are the basics to get you started.

Supply List:

  • Plastic Gloves

  • Rubber Bands

  • Easy-squeeze bottles with dye powder

  • Sealable plastic bad or wrap (for storing your t-shirt while the dye sets)

  • Disposable surface cover (like a large trash bag)

  • Wire Rack (to avoid your creating from sitting in a pool of dye)


Step 1: Pick your Item

There’s a long list of items you can tie dye, from t-shirts, socks, and sweats to bed sheets, or even shoes! We advise your select an item that is made from 100% natural fibers such as cotton, rayon, or silk. Synthetic fibers like polyester have different fibers that are not as absorbent and this can prevent the dye from dying your items completely.

It is recommended that you wash the item before starting the tie-dying process, especially if the item is new. Some dyes will require you to presoak the fabric in soda ash but with products such as Tulip’s One-Step Dyes, which already has the soda ash mixed into it.

Pro Tip: Do not use fabric softener when pre-washing your fabric. The chemicals in fabric softeners can block dye absorption.


Step 2: Prep the Dye

Some products such as Tulip’s One-Step Dye bottles already have the powder inside, but if you’re using another type of dye, now is the time to set up. Put the powder inside of your easy-squeeze bottles, then add tap water, ensure your nozzle is tightly screwed in and that the cap is on. Shape each bottle thoroughly until the dye powder has dissolved. Wait to mix your dyes until you are ready to apply them.

Pro Tip: Dye left in bottles for more than 72 hours might lose their concentration and may not appear as vibrant after dying.


Step 3: Bind the Item

Lay your damp item or t-shirt out onto a flat surface, make sure the surface has been covered with plastic. We’ll use a t-shirt and the spiral technique as an example, you will find the center of the tee which would be down the middle of the collar, and the section directly under the sleeves. That is your center point for your spiral.

Pinch the fabric in the center and twist the fabric towards the right until the entire shirt is bunched, making a perfect swirl. Use rubber bands to hold the spiraled t-shirt in place by crisscrossing them and creating 6 wedge shapes.


Step 4: Apply the Dye

Using the metal rack, place the t-shirt on to it above a covered surface to avoid making a mess. Wearing your gloves, proceed to apply the dye colors to each wedge created by the rubber bands. Turn the t-shirt and apply the same colors on the back to match the same colors as the other side.

Pro Tip: There’s no wrong way to tie-dye!


Step 5: Let Set

This is the longest step because you will need to let your creation sit for many hours. Place your project into a sealable plastic bag or plastic wrap to keep it damp and let the dye settle. Let your project sit 6 to 8 hours or overnight if you would like to give it some extra time. It’s important for the fabric stays damp while the dye sets, so make sure it’s stored in a cool area.


Step 6: Rinse and Wash

After it has been at least 6 hours and the dye has fully processed, remove the rubber bands and rinse, wash and dry. We recommend you air dry it or follow the instructions on the t-shirt tag.


7 Best Tie-Dye Techniques & Patterns

IMG_8984.jpg

Besides this being a fun activity to do with your kids or your friends over some beers, it can also be highly technical with many steps, that if missed, can throw off your design completely.


spire-tie-dye-shirt.jpg

The Spiral Tie Dye Pattern

This technique is one of the most commonly used and if you’re just getting started this is a good introduction to tie-dying. This technique is simple, pinch the center of the fabric and twist to create folds and then tie with rubber bands strategically then add the dye.


bleach-tie-dye-hoodie.jpg

The Reverse Techniques (a.k.a Bleach Tie Dye)

This technique is called reverse or bleach because you’ll need a 100% cotton black fabric and bleach. For this technique, you’ll need to leave your shirt dry and crumple into a tight mound with the rubber bands. There’s no specific pattern to follow, this method is a little looser. Then, mix the bleach in an easy-squeeze bottle to then apply to your fabric. Rotate the fabric as needed while squeezing the bleach into it. Watch as the bleach begins to strip the color of the fabric and gradually remove the rubber bands to then immediately rinse and wash according to instructions.

Once the fabric has been washed, leave it damp and lay it flat on your workstation which should be covered with plastic to avoid making a mess. Then apply the chosen dye colors randomly over the fabric, especially in the lightened sections that were created from the bleach. Once done, put the fabric into a resealable plastic bag and leave it in a cool dry place for 6 to 8 hours. Then rinse and dry.

Shibori-Tie-Dye-shirt.jpeg

The Shibori Tie Dye Pattern

This technique is all in the way the fabric is folded. For this technique, we will use a t-shirt as an example. Accordion fold the t-shirt from the bottom edge up towards the collar of the shirt in even folds. Once folded up, starting on the end of the folded shirt, accordion fold it again towards the opposite direction until you reach the other end. Wrap the rubber bands tightly around the folded shirt in each direction, crisscrossing the rubber bands.

Place the folded t-shirt on the rack and begin to squeeze the dye into the fabric on each side. For this technique, indigo blue color dye is usually used. Place the shirt in a sealable plastic bag for 6 to 8 hours or overnight. Once the dye is fully processed, cut away the rubber bands and rinse, wash and dry according to your instruction guide.

ice-dye-tie-dye.jpg

The Ice Dye Technique

This technique requires literal ice. The pattern from this technique is very recognizable as it’s one of the most popular. The first step is to damp your fabric in soda ash or the Tulip One-Step tie-dye, then lay your damp fabric out flat on your covered work surface. For this technique, the crumple tie-dye pattern is the most commonly used and worst great, but you can experiment with other patterns you want. After using the rubber bands to bind the fabric, place it on a rack (over a bucket or a bowl is recommended to catch the dye as the ice melts). Then cover the fabric with ice, make sure all of it is covered, the more the better.

After covering the project in ice, sprinkle the dye powder randomly over the ice. The ice will melt and help the dye absorb into the fabric. Depending on where you live and the weather temperature, it could take a while for the ice to melt or not much time at all. If the ice melts quickly, you can then place your project into a sealable bag and allow the dye to set for 6 to 8 hours. If it takes about this long for the ice to melt, it’s time to skip the bag and move on to the next tie-dye step which is rinsing and drying.

spider-tie-dye.jpg

The Spider Tie Dye Pattern

For this technique, you will start with a damp fabric and then fold it in half. Pinch the fabric where you would like the center of the spiral to be, then twist until the entire fabric is spiraled. Bind the spiral with three intersecting rubber bands to create six wedge shapes. Apply a different color of dye onto each wedge shape and then carefully flip spiral over and apply the same colors on that side.

Apply black dye to one side of the spiral, completely covering the other colors. Cover with a plastic wrap to keep damp and let it sit for 6 to 8 hours. Then rinse thoroughly and wash separately.

Kaleidoscope-tie-dye.jpeg

The Kaleidoscope Technique

For this kaleidoscope pattern, you will start with a damp fabric and fold it in half, if using a t-shirt, fold it in half lengthwise and press flat on a tabletop. Pinch the fabric where you would like the center of your first spiral to be, then twist the fabric a few times to create a small spiral.

Maintain the first spiral while pinching another section of the fabric and twist several times to create a second spiral. Then crumble the remaining fabric towards the spirals. Bind the fabric with rubber bands to hold securely. Then make a paper ring to fit around the bound fabric and this will help keep the ice in place when dying.

Instead of adding water to dye bottles to mix, squeeze dye powder of a few colors on top of the ice, then let the ice melt and remove the paper ring. Flip the shirt over and repeat the process on the backside with additional dye powders. Once the backside has been dyed, cut off the rubber bands, then launder according to instructions.

Firecracker-tie-dye.jpeg

The Firecracker Pattern

Scrunch damp fabric into a tube shape and wrap a rubber band around it at about a third of the way down from the top. Repeat on the bottom third. Add the dye to the top third of the fabric above the rubber bands. Then add Blue dye onto the bottom third of the fabric below the rubber band. Then wrap with plastic and let sit, then rinse and wash accordingly.


Dip-Dye-tie-dye.jpg

The Dip-Dye

Dip-dye (also known as tip dyeing) is a technique that involves dipping the ends of the fabric into dye. Dampen the fabric in preparation for dying then mix the dye of your choice and pour into separate plastic bins of bowls. Dip one side of the fabric into the first color, then squeeze out any excess dye back into the container. Dip the other side of the fabric into the second dye color making sure both dyes don’t touch. Lay the fabric flat on a rack and cover it in plastic wrap. Then let it sit for 6 to 8 hours. Rinse, wash, and dry.


Brand Spotlight:

LXIX Apparel

LXIX-APPAREL.jpg
IMG_5614_750x.jpg

While we at Family Industries do not do this type of customization, we have done projects with tie-dye by having help from LXIX Apparel which is a tie-dye haus located in Los Angeles and run by Brian Robert Jones, who is the guitarist for the band Vampire Weekend.

LXIX Apparel focuses on creating vibrant tie-dyed apparel from hoodies, and t-shirt, to full sweatsuits. LXIX has helped us with projects for Urban Farms LA and we have printed for their own brand as well.

IMG_3690_750x.jpg
IMG_3944_750x.jpg

Author: Irene Floridia - Content Creator


Follow us on Instagram and Facebook!

For FAQ, check out our site!

For any inquiries, send us a message!

OR

send us an e-mail at quotes@familyindustriesla.com

Our showroom at 2755 Fruitdale Street, Los Angeles, CA 90039 is open by appointment only from 10 am - 4 pm Monday through Friday.