
So you have a great design and you want to make t-shirts but you’re on a budget and can’t afford a minimum order from a local screen printer? Well, you can get your own setup on a limited budget and we’ll show you how. In this article, we will take you through the essential materials and how to outsource some of those expensive items.
Screen Printing: The Essentials
These are the materials you will need to have a basic setup, later on, we will give you resources on how to either make your own, where to find a good deal, or best practices on how to waste less to get more.
Screen - The screen has a mesh, which is the fabric stretched over the screen’s frame, and is a weave that has tiny holes in it, which allows the emulsion to harden and adhere to it, and also allows ink to pass through the mesh that is open, IE the stencil. The common sizes are 18″x20″, 20″x24″, and 24″x31″, but there are companies willing to make screens to any size needed.
Press - The press holds the screen in place between prints, making it easier for the user to swap out the paper or clothing being printed.
Learn more about Choosing the Right Screen Printing Press
Photo Emulsion - This is a thick liquid substance that reacts to light. Essentially, emulsion becomes "tougher" when exposed to light, making it more difficult to remove from surfaces. The emulsion is applied to the screen, at least one layer on both sides, using a scoop coater.
Stencil - Stencils are basically opaque sheets, similar to transparency sheets, that the designs are printed onto using a laser printer. The design needs to be as dark as possible so that it blocks UV light from the exposure unit to the areas behind the design. Learn How To Screen Print with Stencils
Ink - We recommend using water-based ink to have the best result. Water-based ink is friendly to the environment, stays longer wet on the screen, and requires little chemicals for cleaning. This ink requires technical expertise. Another option is plastisol based Ink. This ink was the most common choice for a long time because water-based ink is more difficult to use, therefore requiring printing expertise.
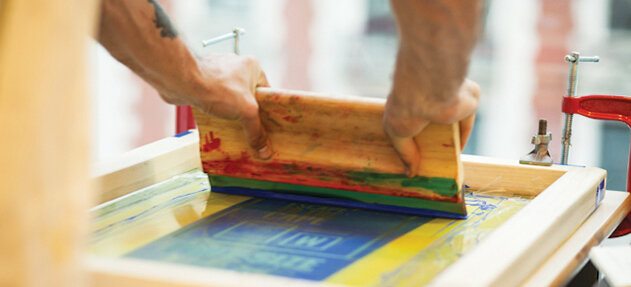
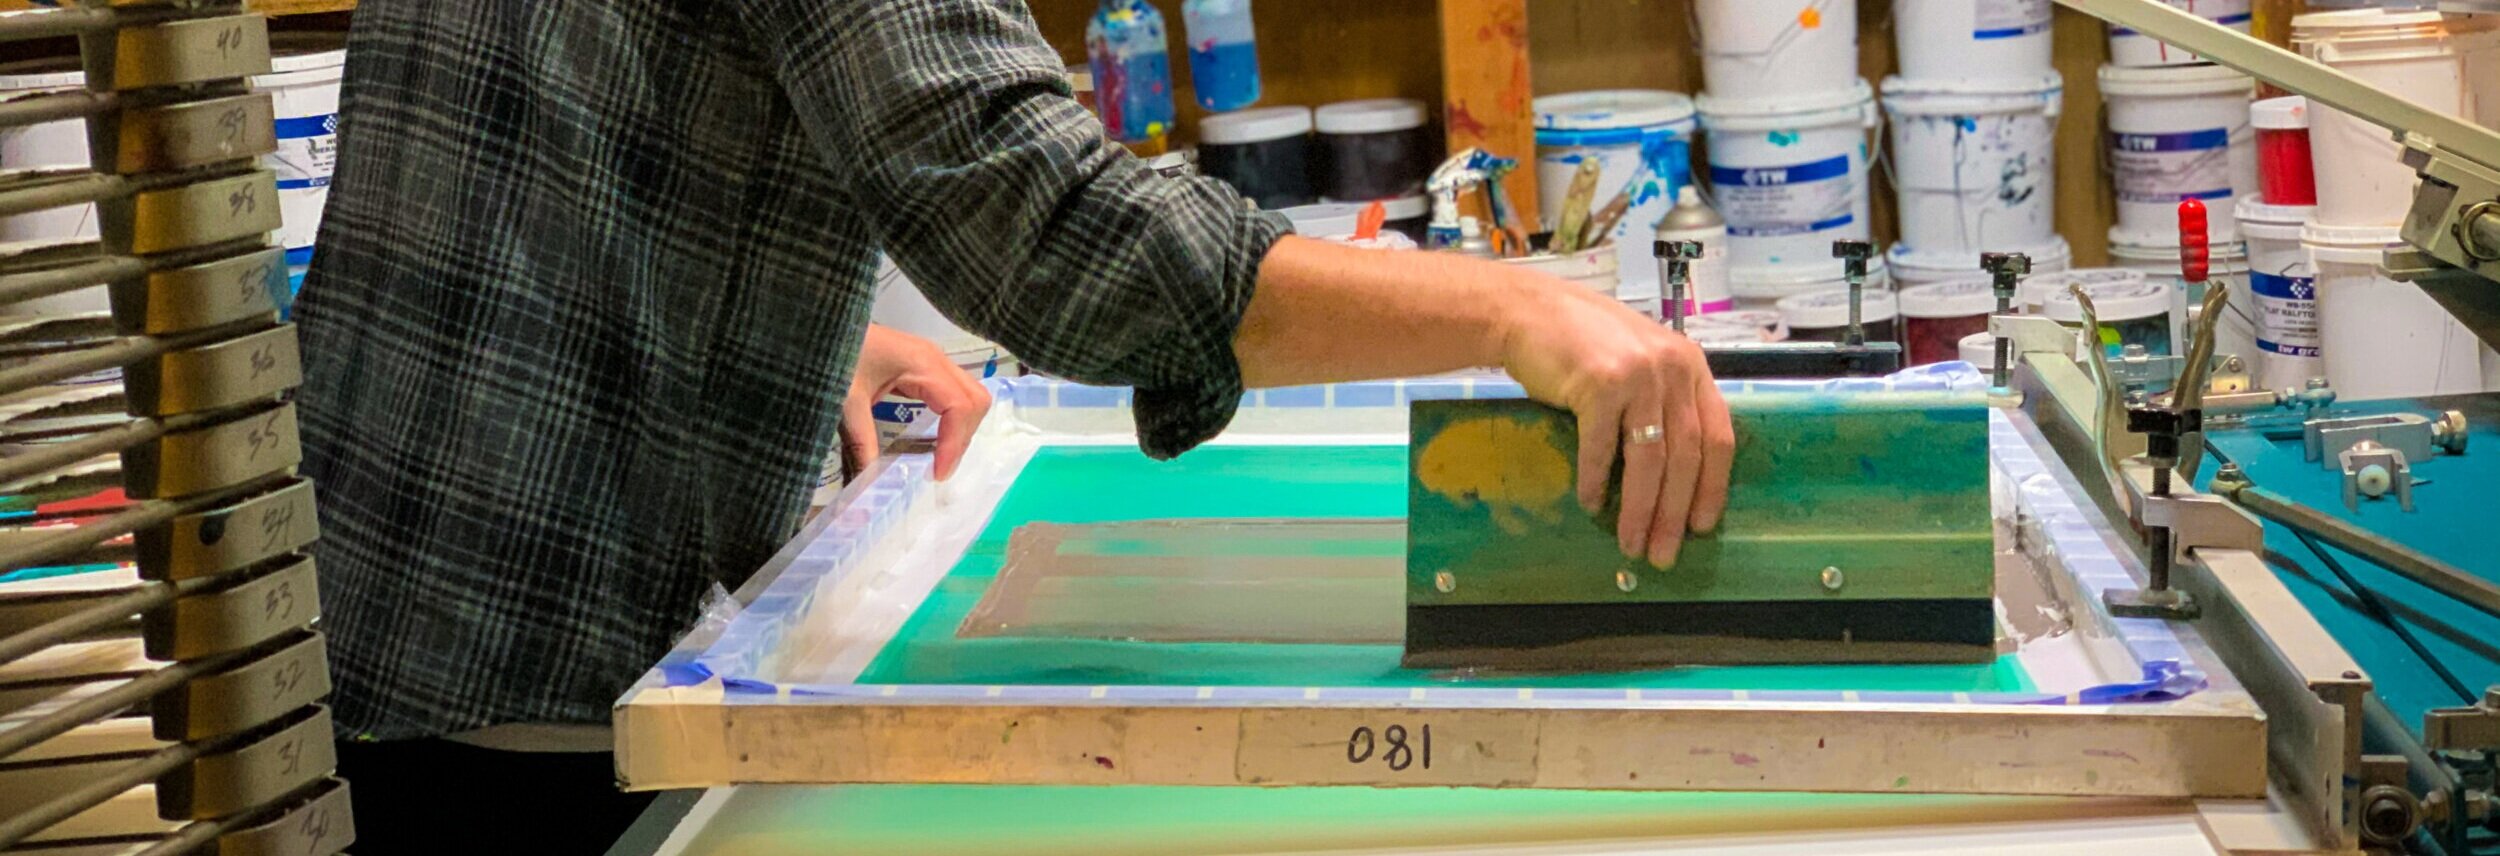
Squeegee - A squeegee is a rubber blade attached to a long wooden, metal, or plastic handle. It’s used to push the ink through the mesh screen and onto the surface being printed.
Darkroom Light - For this process, you will need a darkroom to be able to apply and mix your emulsion. A darkroom-safe light is necessary to be able to see while you’re preparing the screen.
Exposure Light - After coating your screen with emulsion, it’s time to place your stencil on it and expose your design using an exposure light.
Check out The Art Of Making: Hand-Screen Printing
But How Do I Print on a Budget?
We get it, the materials list is long and it’s not looking cheap! - Don’t worry, we got you! Here’s how you can cut costs on your materials.
Tip: You can almost always find some of the materials listed above on websites such as Craigslist, OfferUp, or Facebook Marketplace. This is a good way to get exactly what you need without paying full price.
Screen
With the price of lumber being low, building your own frame can be cost-effective, although screens are fairly affordable. Screens for screen printing range in price from $20 to $35 dollars, however, if you are making a print requiring more than one screen, this can get pricey. We recommend that if you’re just starting to only get one screen and begin printing single color prints.
Screen Printing Press
A press is the most expensive part of this process, it can run you anywhere from $100 to $1,200 dollars but you don’t have to have a press. Many printers have simply used a screen on a table and applied pressure with one hand while printing using a squeegee with the other. The trick is to make sure the t-shirt is placed always in the same spot.
Now, if you’re doing a large print and it requires a little more concentration, we suggest you set up on a table that you don’t mind drilling a hole into, and add door hinges to your screen and the table - this will prevent your screen from moving and you can use both hands while printing.
Ink
Inks can get pricey, but as we recommended, you can find this on Apps like OfferUp or Facebook Marketplace. Otherwise, a way to conserve ink is to minimize your use by pouring smaller amounts when printing and keep pouring as you go. This practice will prevent you from wasting ink.
Learn about What is the Best Ink for Screen Printing
Squeegee
Squeegees are very affordable and you can find a whole kit for less than $10 dollars if you buy directly from a wholesaler.
Darkroom Lighting and Exposure Light
The best way to work with the photo emulsion is in safelight conditions. A darkroom safe light lets you work with the photo emulsion in safelight conditions so that you can see what you’re doing when mixing the emulsion and coating the screen without exposing it to UV light. Because film photography is not as popular anymore, you can find a lot of Darkroom-safe lights on websites such as eBay for $20 dollars.
For exposure lights, you can go to your local hardware supply store and find 500-watt or higher halogen work-lights anywhere from $20 - $40 dollars. They generally have a black housing and clear glass lens at the front with a wire grill covering it. Start by removing the grill and glass from the front. It is a UV filter and when you expose your artwork to your screen you will want maximum UV exposure. This is a great alternative DIY exposure setup.
For a more in-depth list of screen printing materials, check out What is Screen-Printing and What Materials Do I Need?
Author: Irene Floridia - Content Creator
Follow us on Instagram and Facebook!
For FAQ, check out our site!
For any inquiries, send us a message!
OR
send us an e-mail at quotes@familyindustriesla.com
Our showroom at 2755 Fruitdale Street, Los Angeles, CA 90039 is open by appointment only from 10 am - 4 pm Monday through Friday.


